Contact Us
If you'd like assistance setting up your For Safety Sake backup, restoring from a backup, or if you have any other questions, feel free to contact us.
Guides & Frequently Asked Questions
For assistance in setting up our Linux client, please contact us at the from above.
There are several steps you can take depending on the situation. As time goes on it is only natural for a user to gain more personal data and files. Not all of this may need to be backed up into your cloud backup service, for instance files that are already stored in a cloud service, such as iTunes, Google Drive or other services can be easily recovered and downloaded if there is a catastrophic failure. As an example iTunes keeps track of all the music you have downloaded and purchased from their store so you may not need to have a double backup of your iTunes music folder. Also some content you are backing up you may just not care about anymore, for instance that old college term paper from 15 years ago you could care less if you lost it.
- Remove Old Content. Do you really need it? Cleanup the files on your computer and delete old content that you know you don't want to keep. This should include emails, documents, programs and anything else--esepecially leftover files in your Downloads folder. That old installation file that you used to install Google Chrome six months ago? It doesn't need to be taking up space on your backup. Setting aside a 'digital spring cleaning' once per year is reccommended in any case.
- Archive Old Content. If you have old stuff that you want to keep but don’t need access to it, move it to a USB drive and store it in a safe place, like a safe in the attic. You can always reload it at a later date. FSS Backup will keep track of files that you move or delete and remove it from your on-line backup account over time.
- Increase the amount of on-line storage. Increasing your backup's storage is very affordable. For $2/month we’ll add 10Gb of storage to your account. That’s $24 a year to store those priceless family photos you just spent hours scanning from slides.
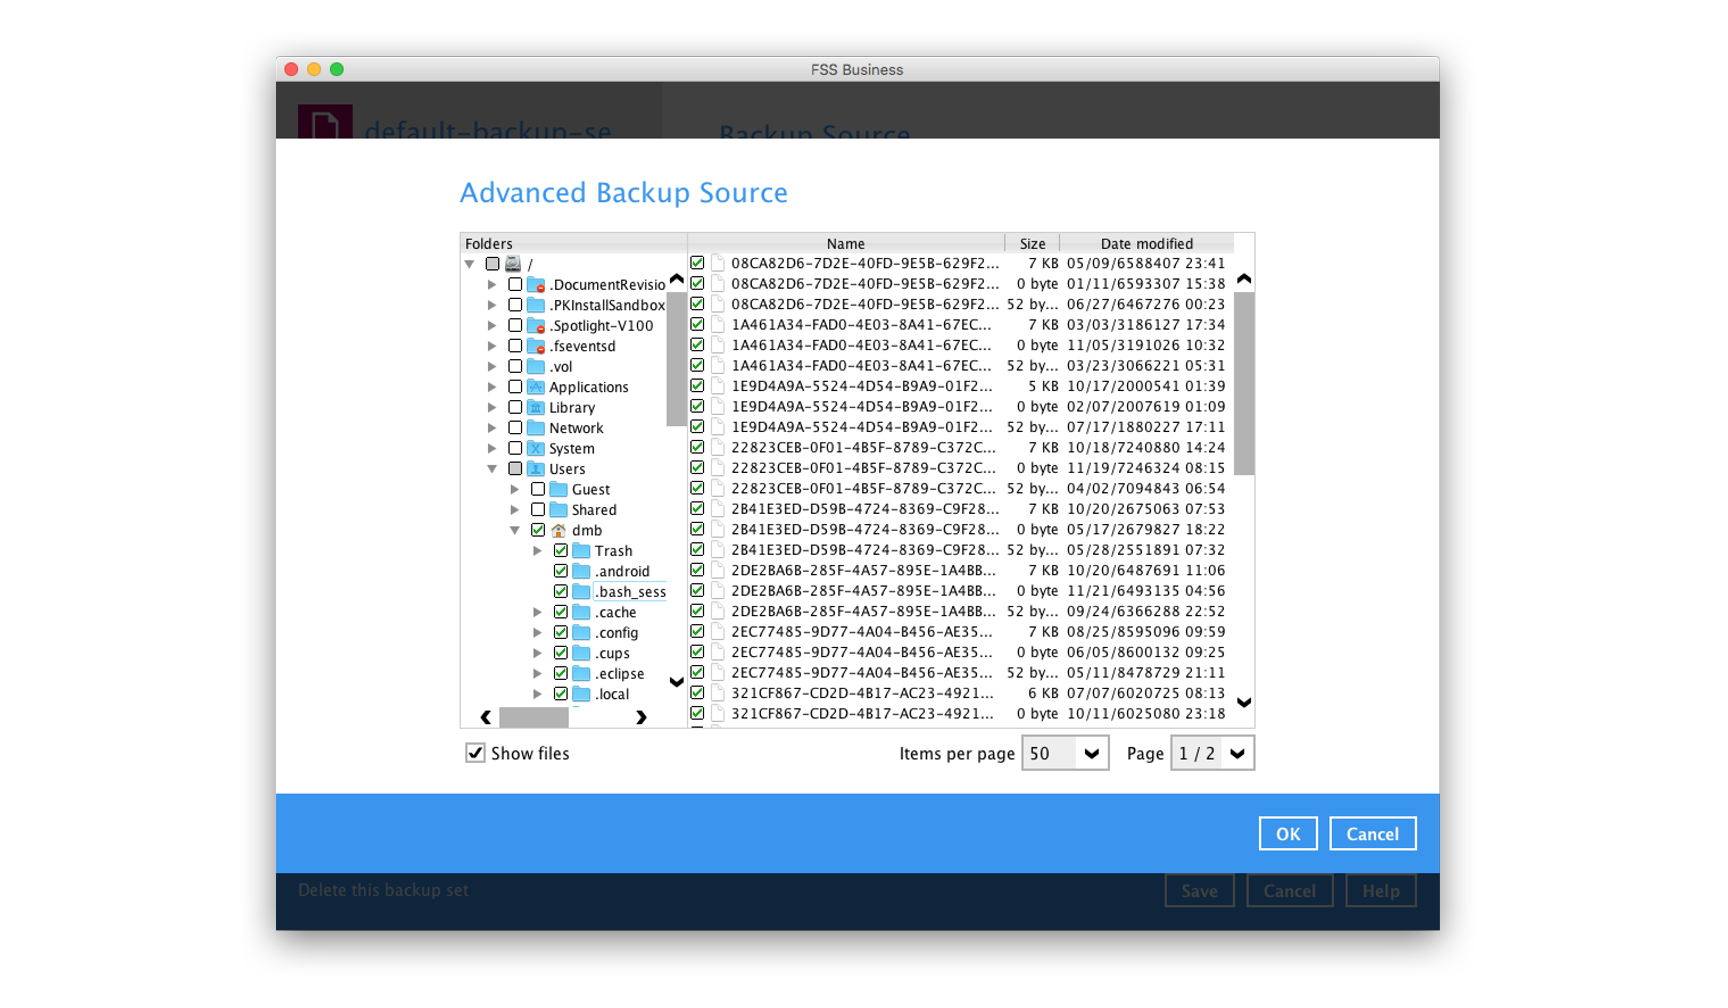
- Remove from Backup. Not everything needs to be backed up. For instance software that can be easily reinstalled from a disc or redownloaded shouldn’t be backed up. It is much less expensive to redownload your purchased movie from iTunes than to have it included in your backup (though we dp suggest that you backup a list of those movies so you can easily get them again). Folders like the “Downloads” folder often don’t need to be backed up at all and is the first place to look when deciding on folders to deselect from your backup.
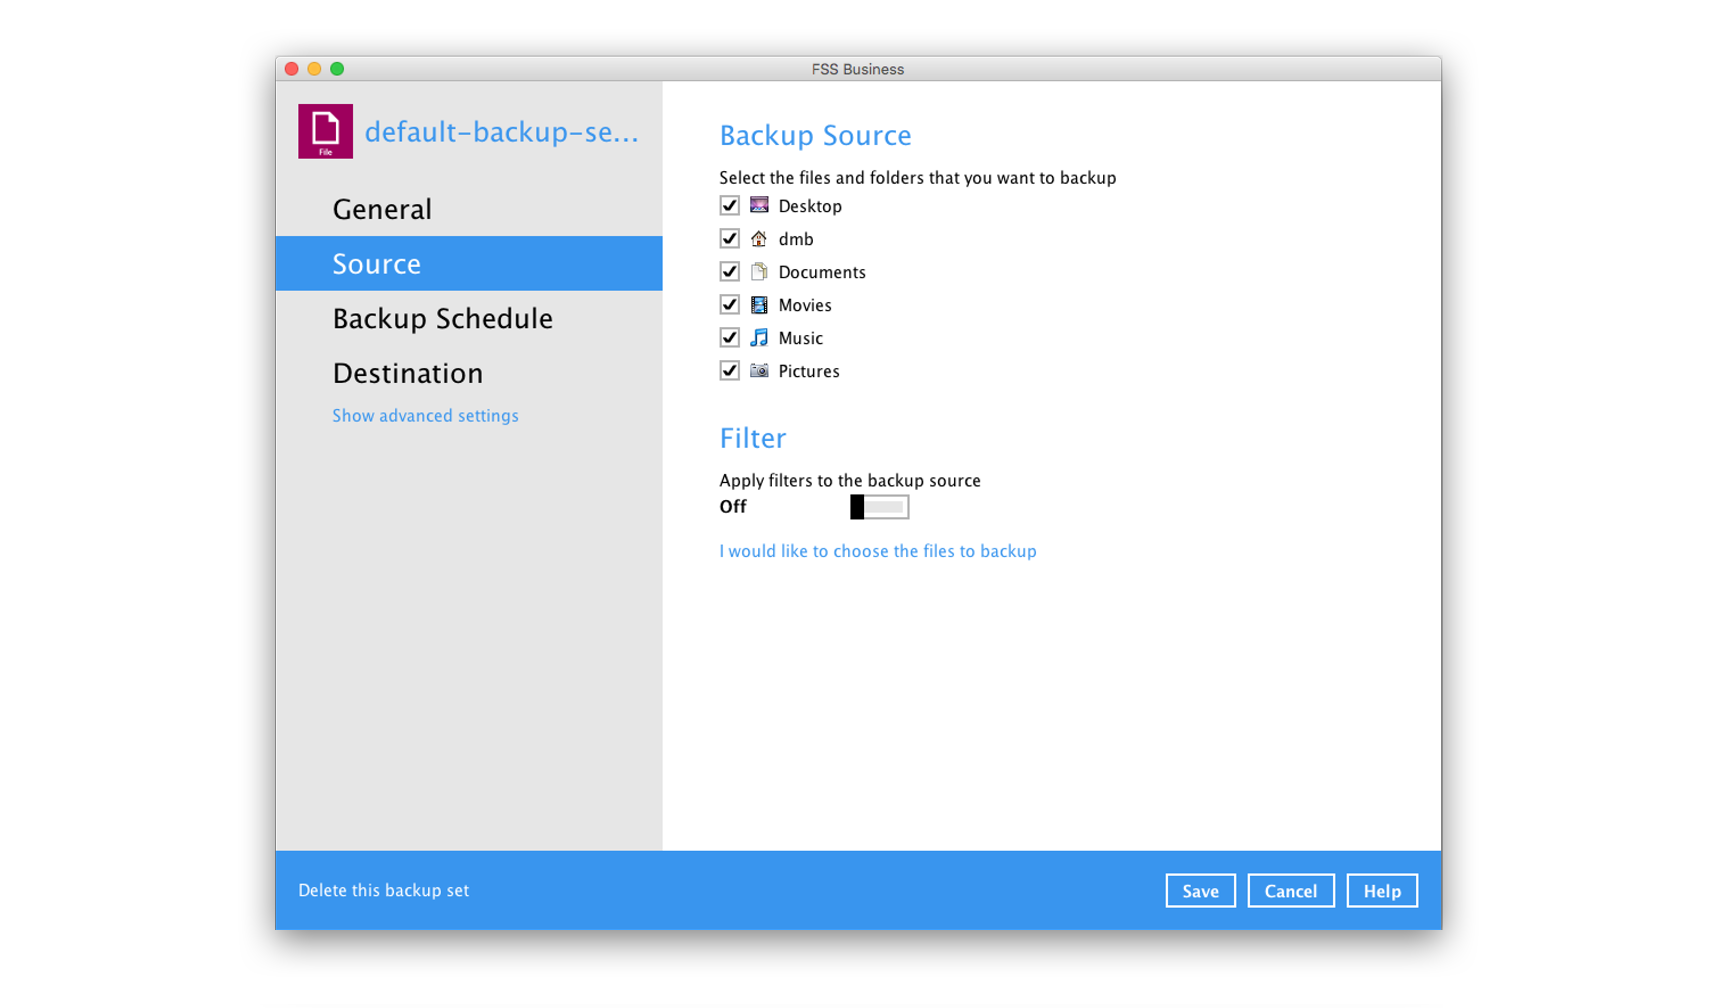
How do I deselect a file from my backup set?


