-
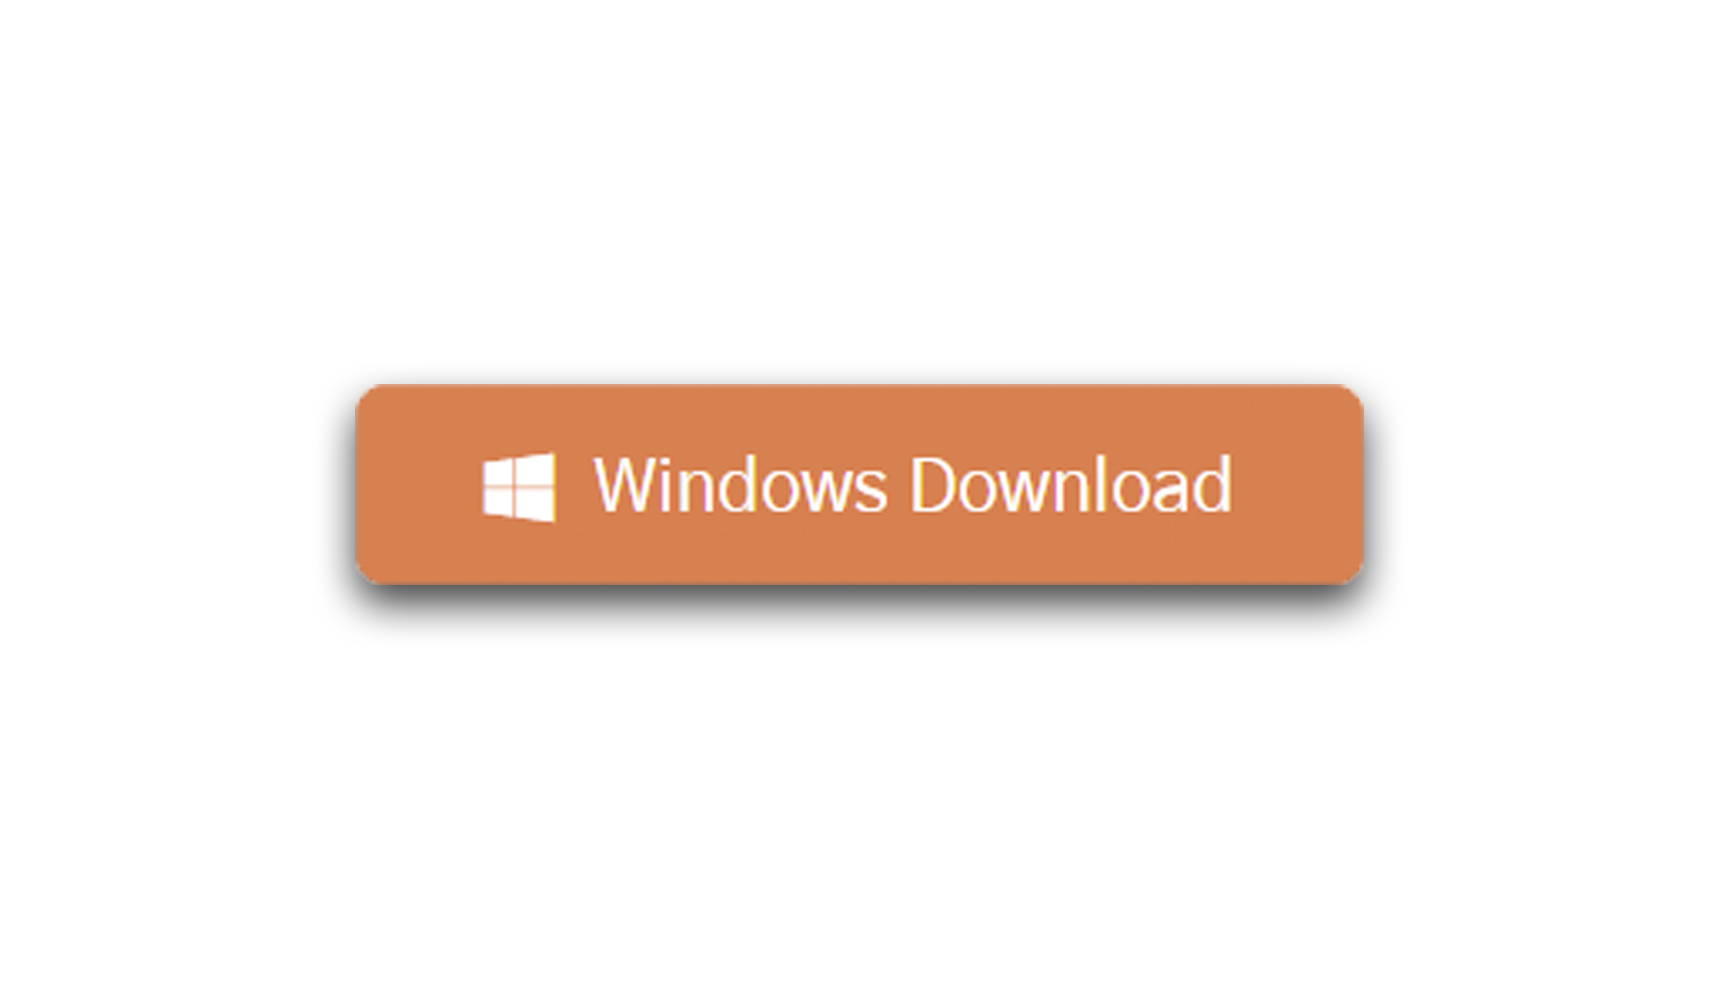
1. Download the Home Backup or Business Backup client from http://www.forsafetysake.us/downloads
-
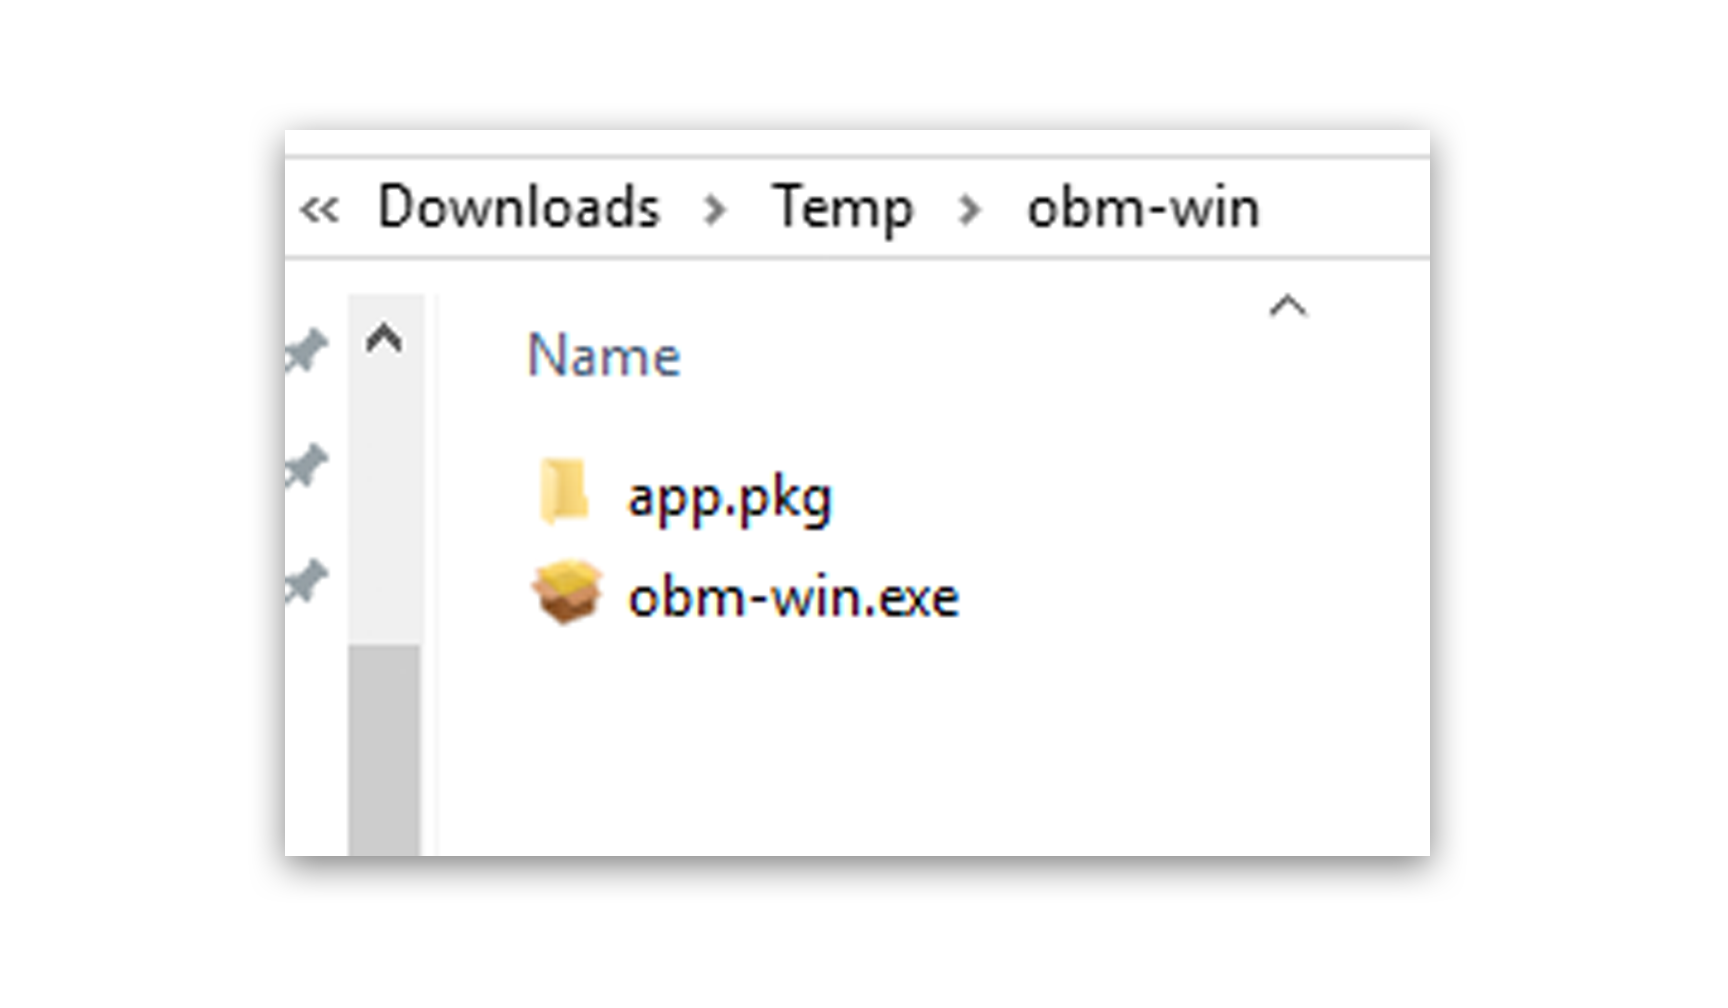
2. Find the installation file that was just downloaded (probably in your downloads folder). The name will start with 'obm-win', but could be quite a bit longer. Double-click to start the installation.
-
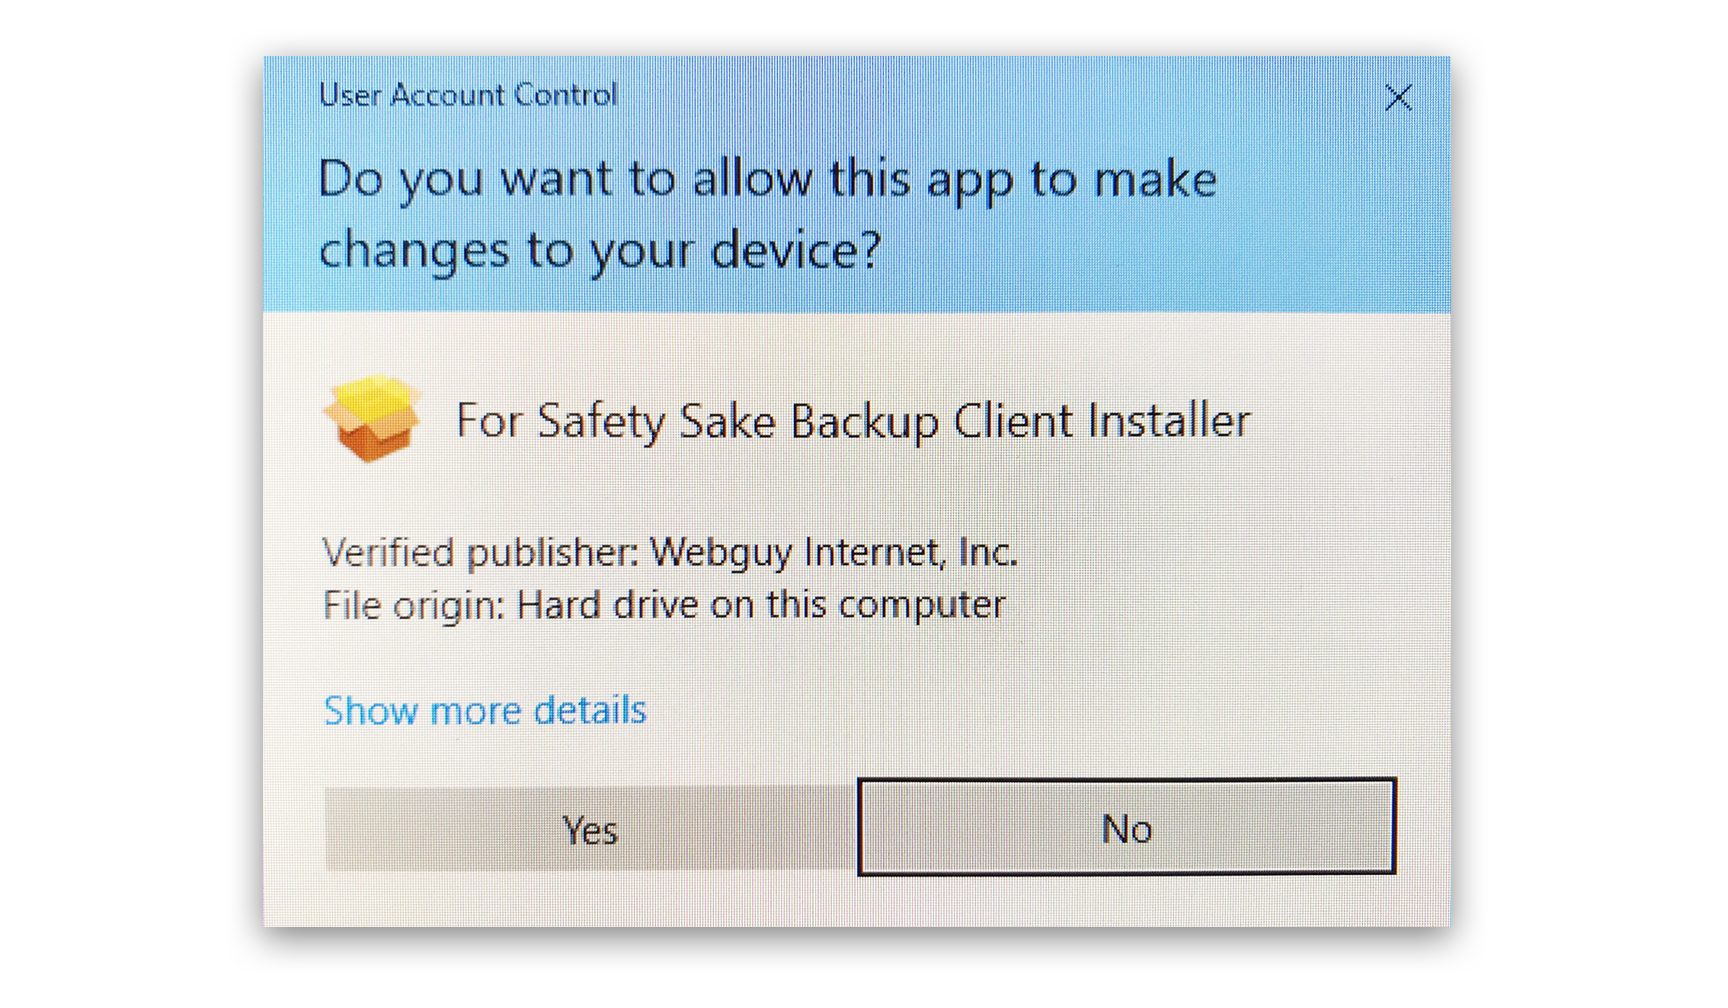
3. If asked to allow 'For Safety Sake Backup Client Installer' to make changes, click 'Yes'
-
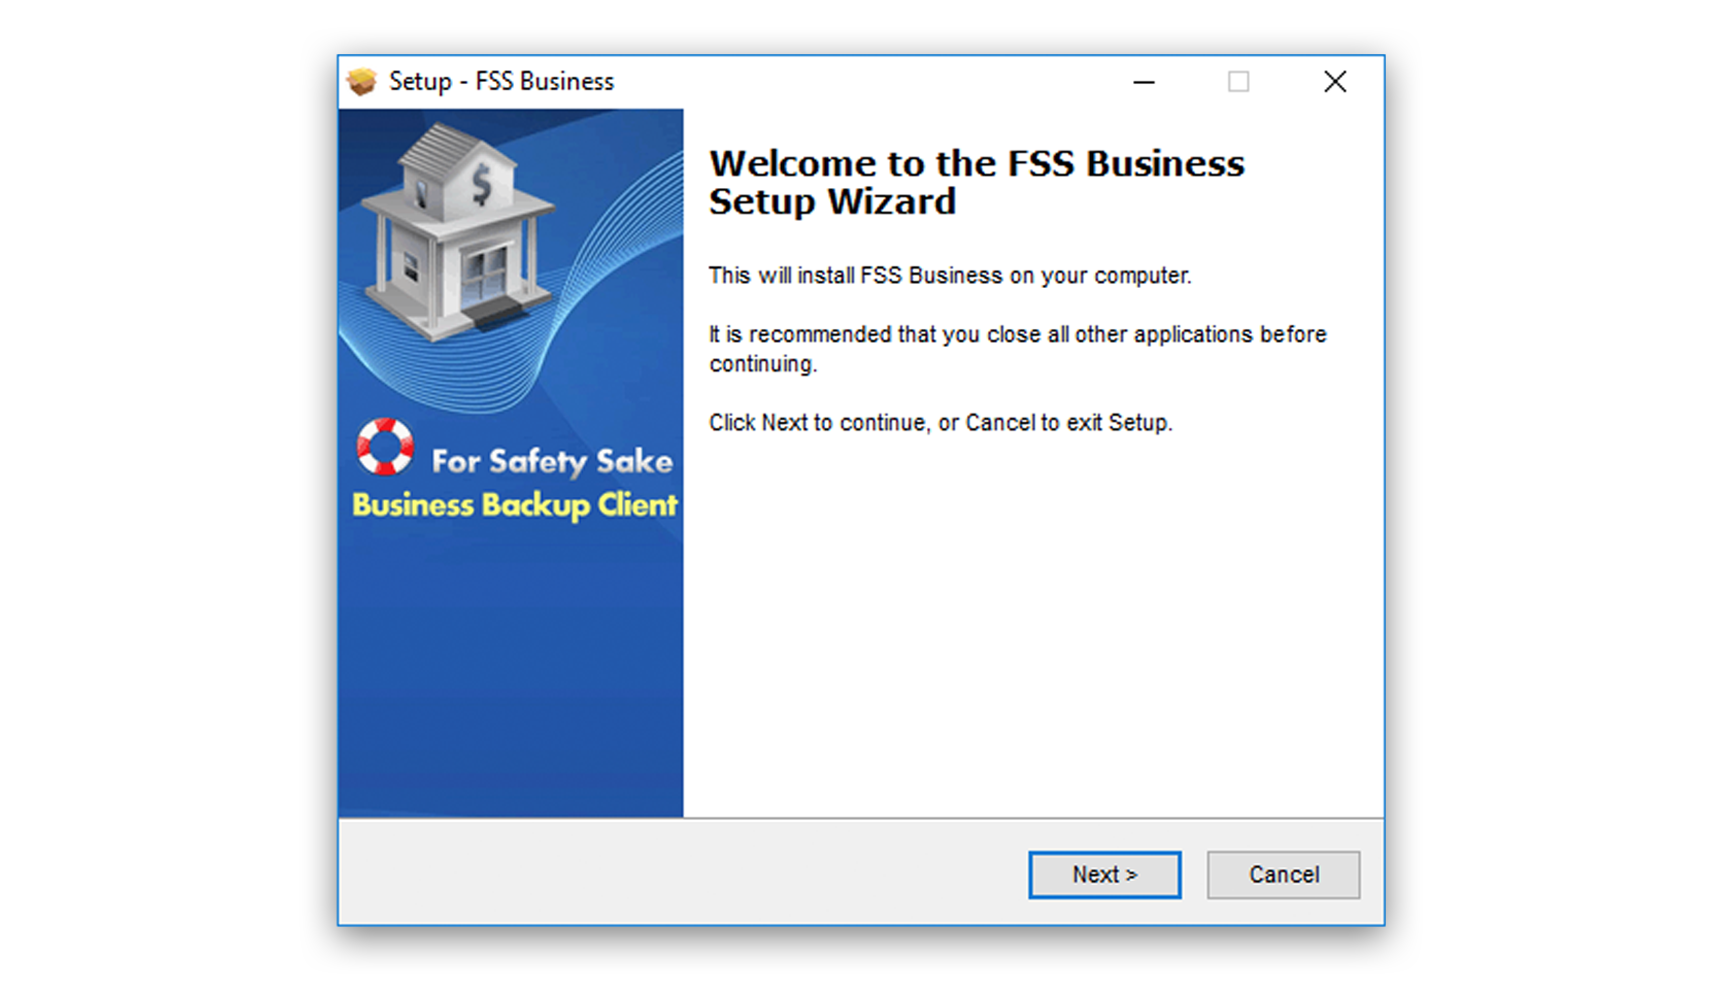
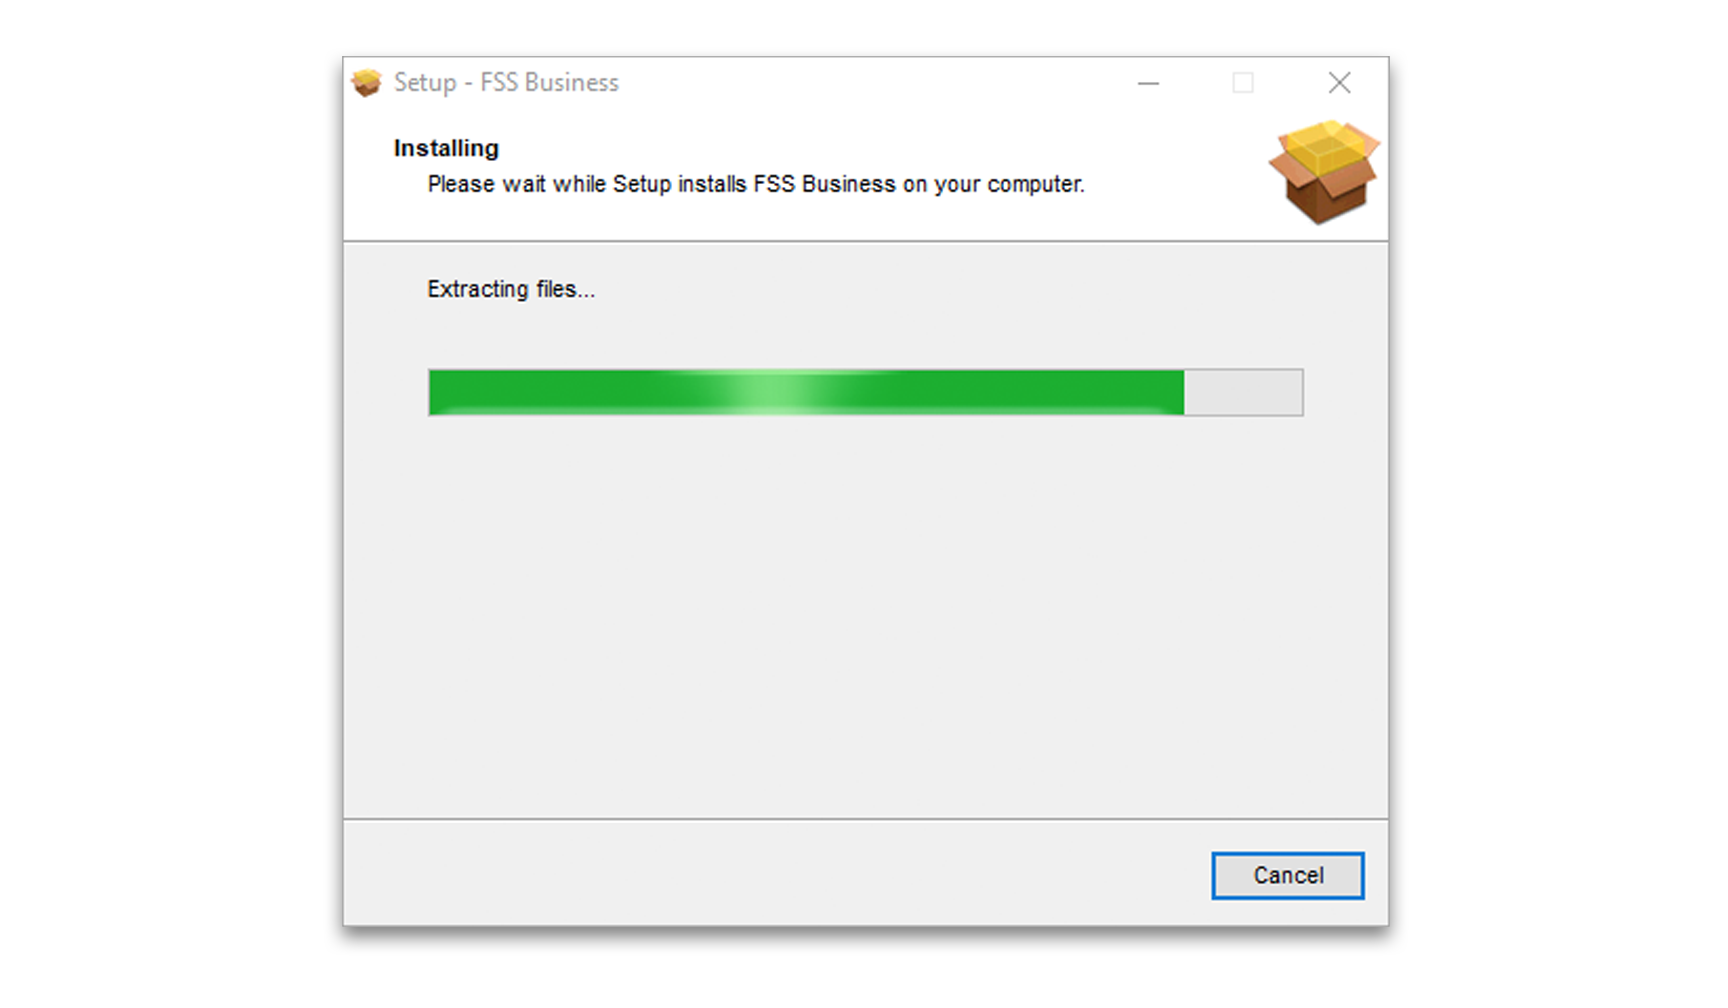
4. Continue through installation prompts to install For Safety Sake
-
-
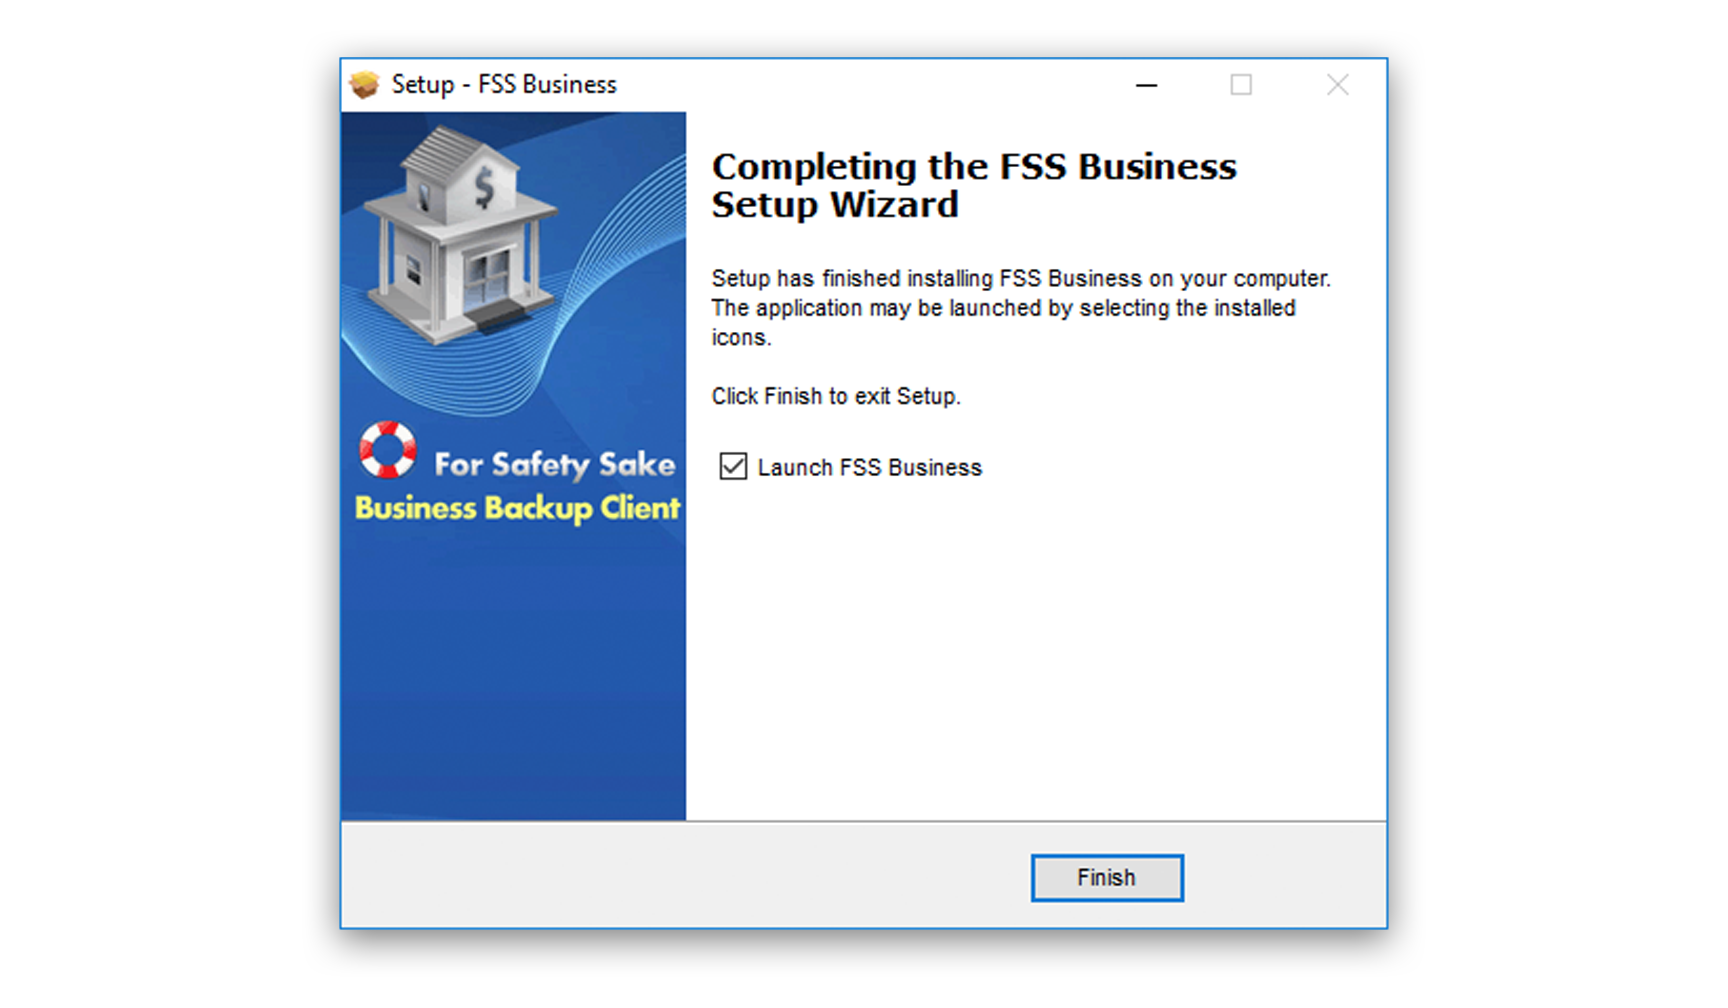
5. Once Installation has completed, click 'Finish' to launch the For Safety Sake Client.
-
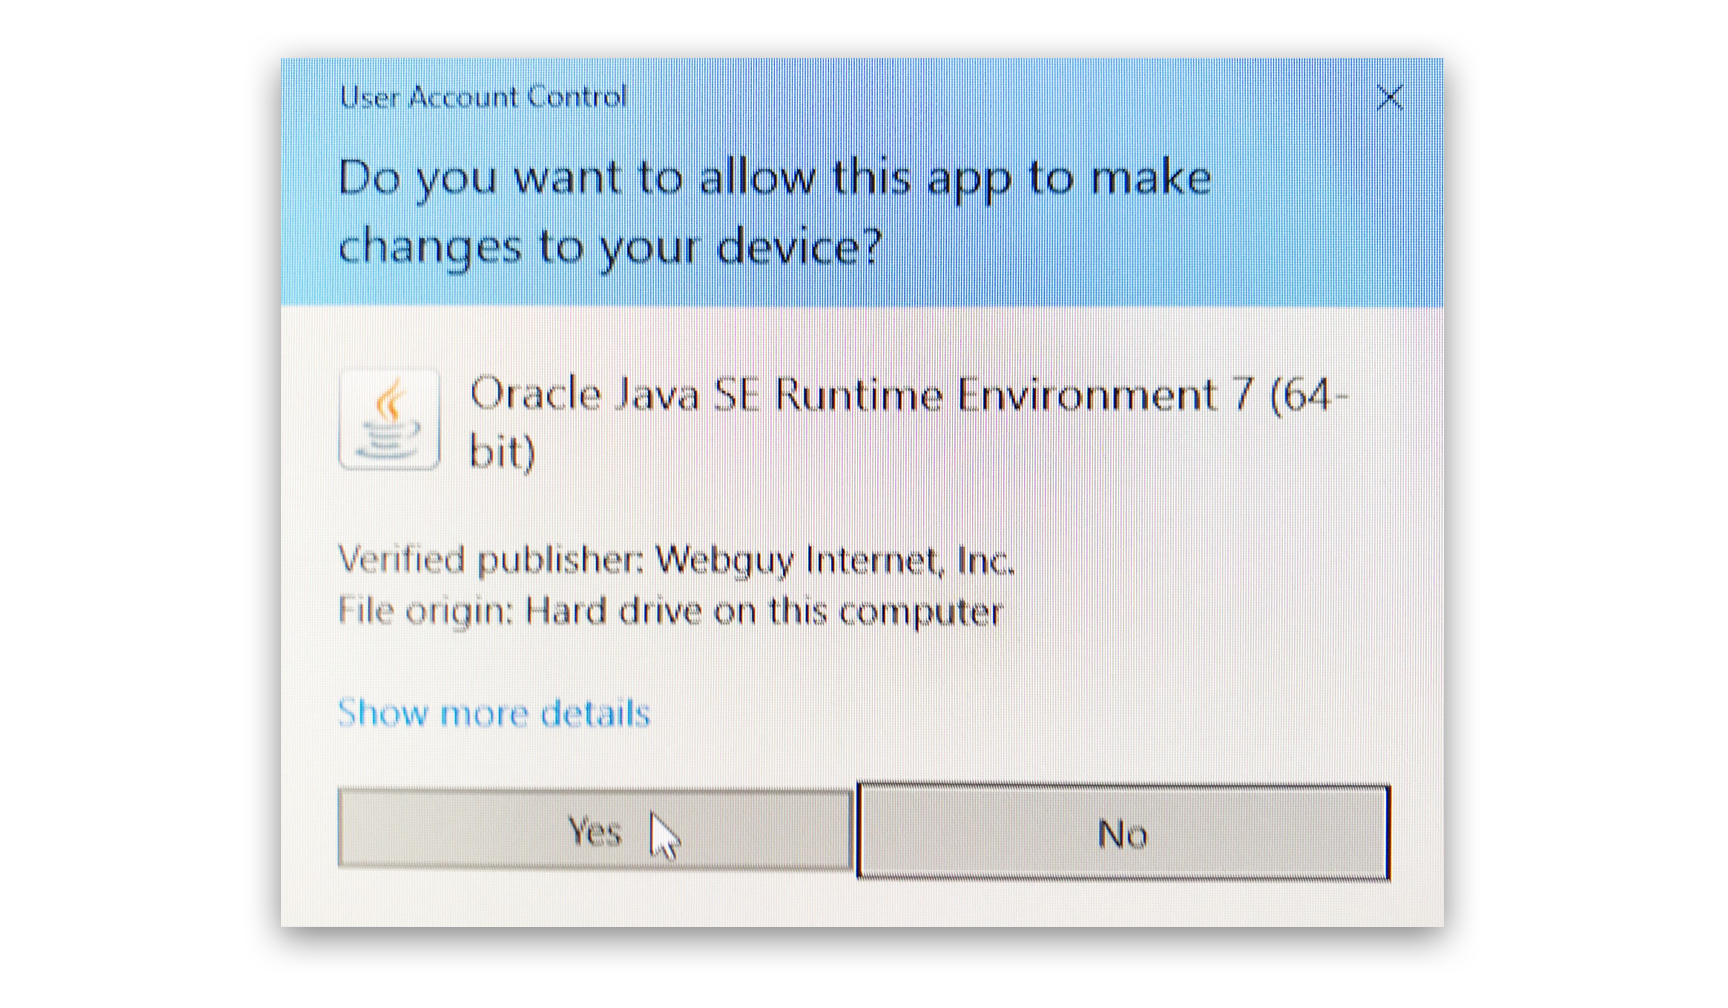
6. If asked whether to allow 'Oracle Java SE Runtime Enviroment 7 to make changes to your device', click 'Yes'
-
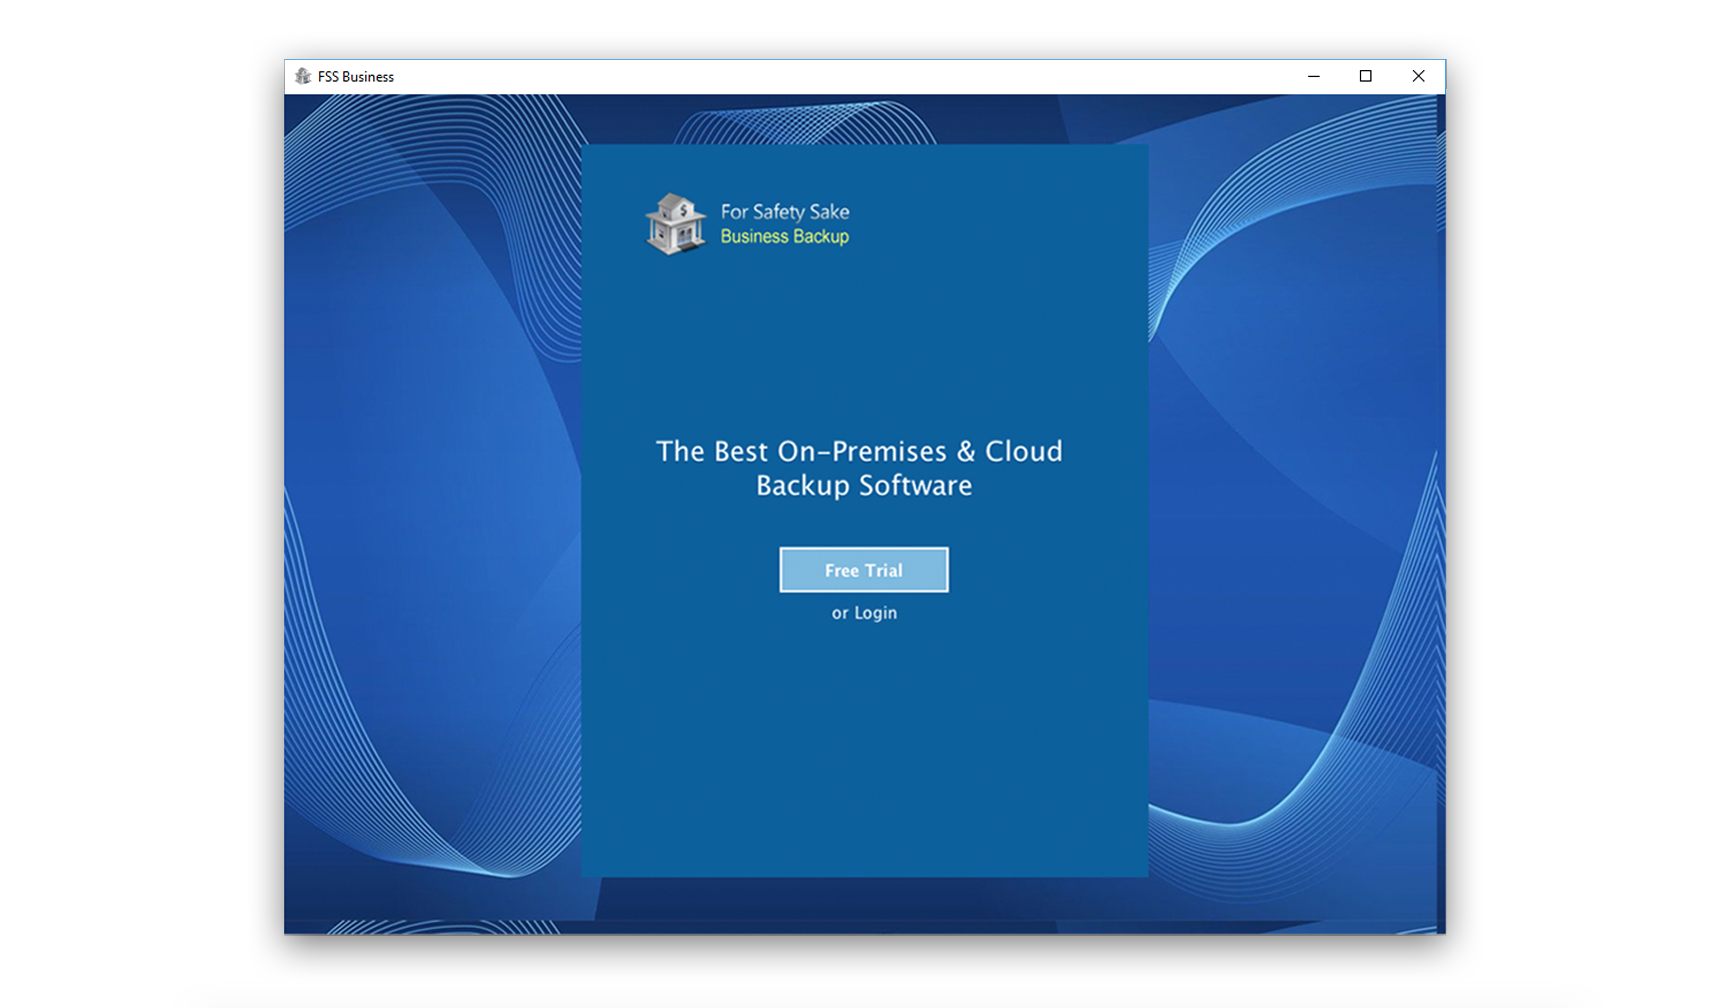
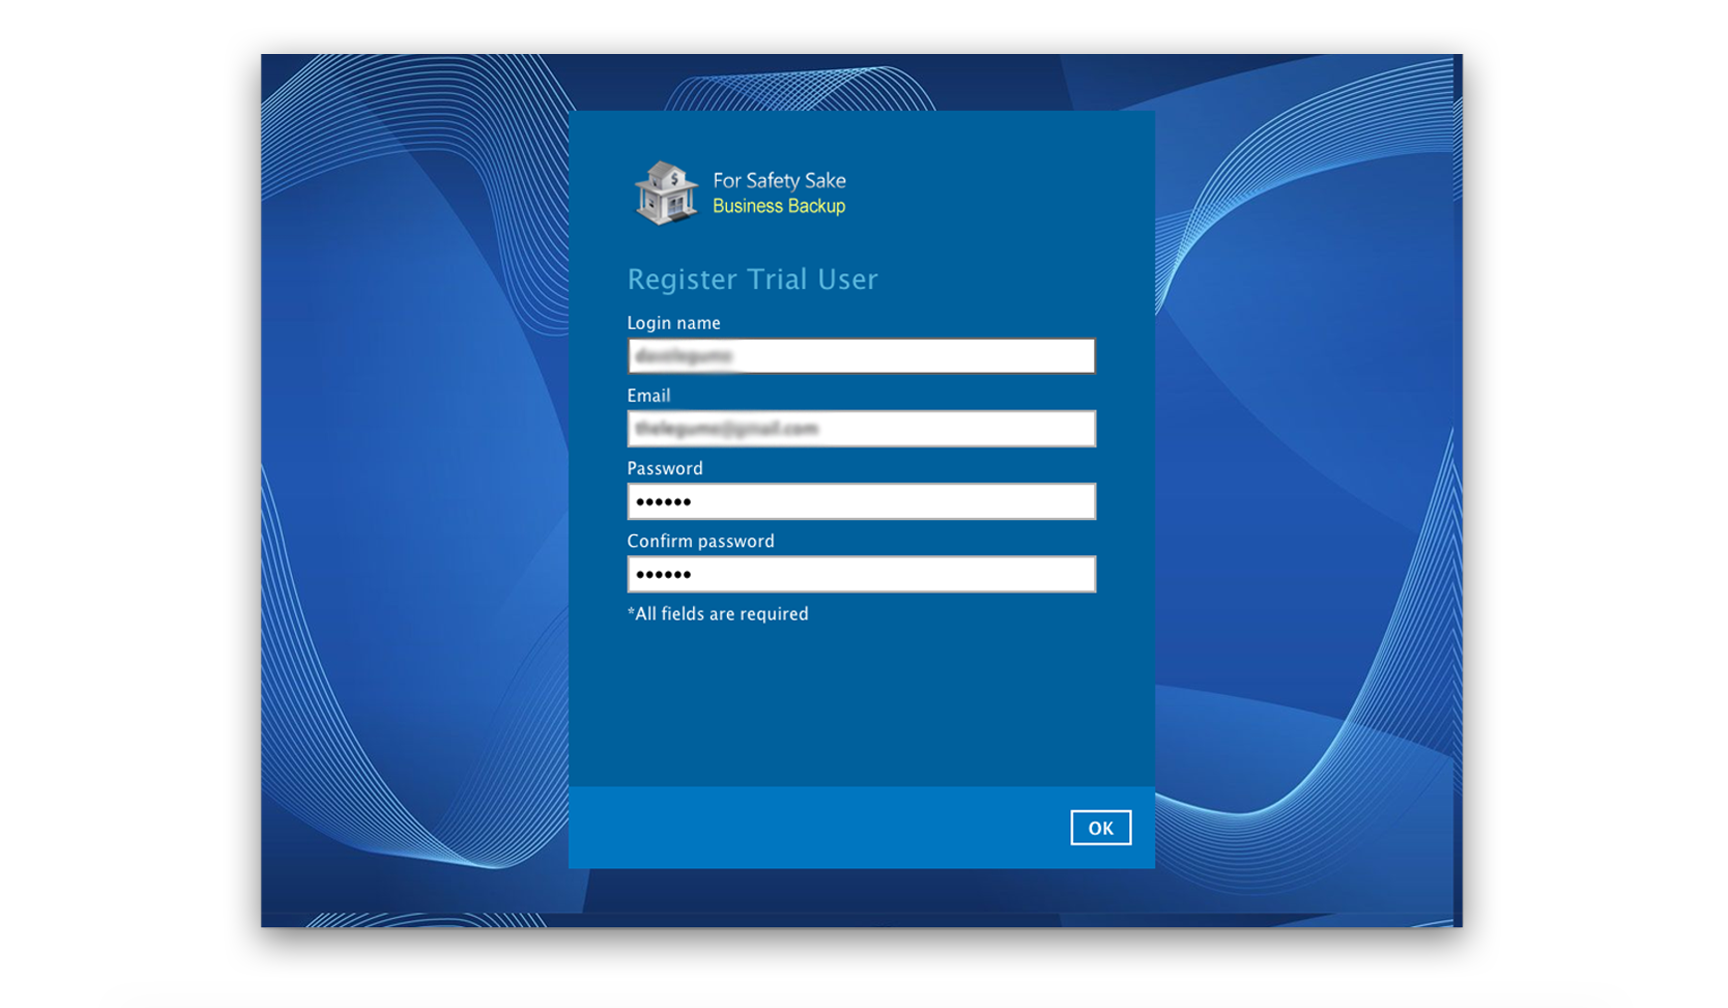
7. If you have already created a FSS account, select 'Login', otherwise, select 'Free Trial'
-
-
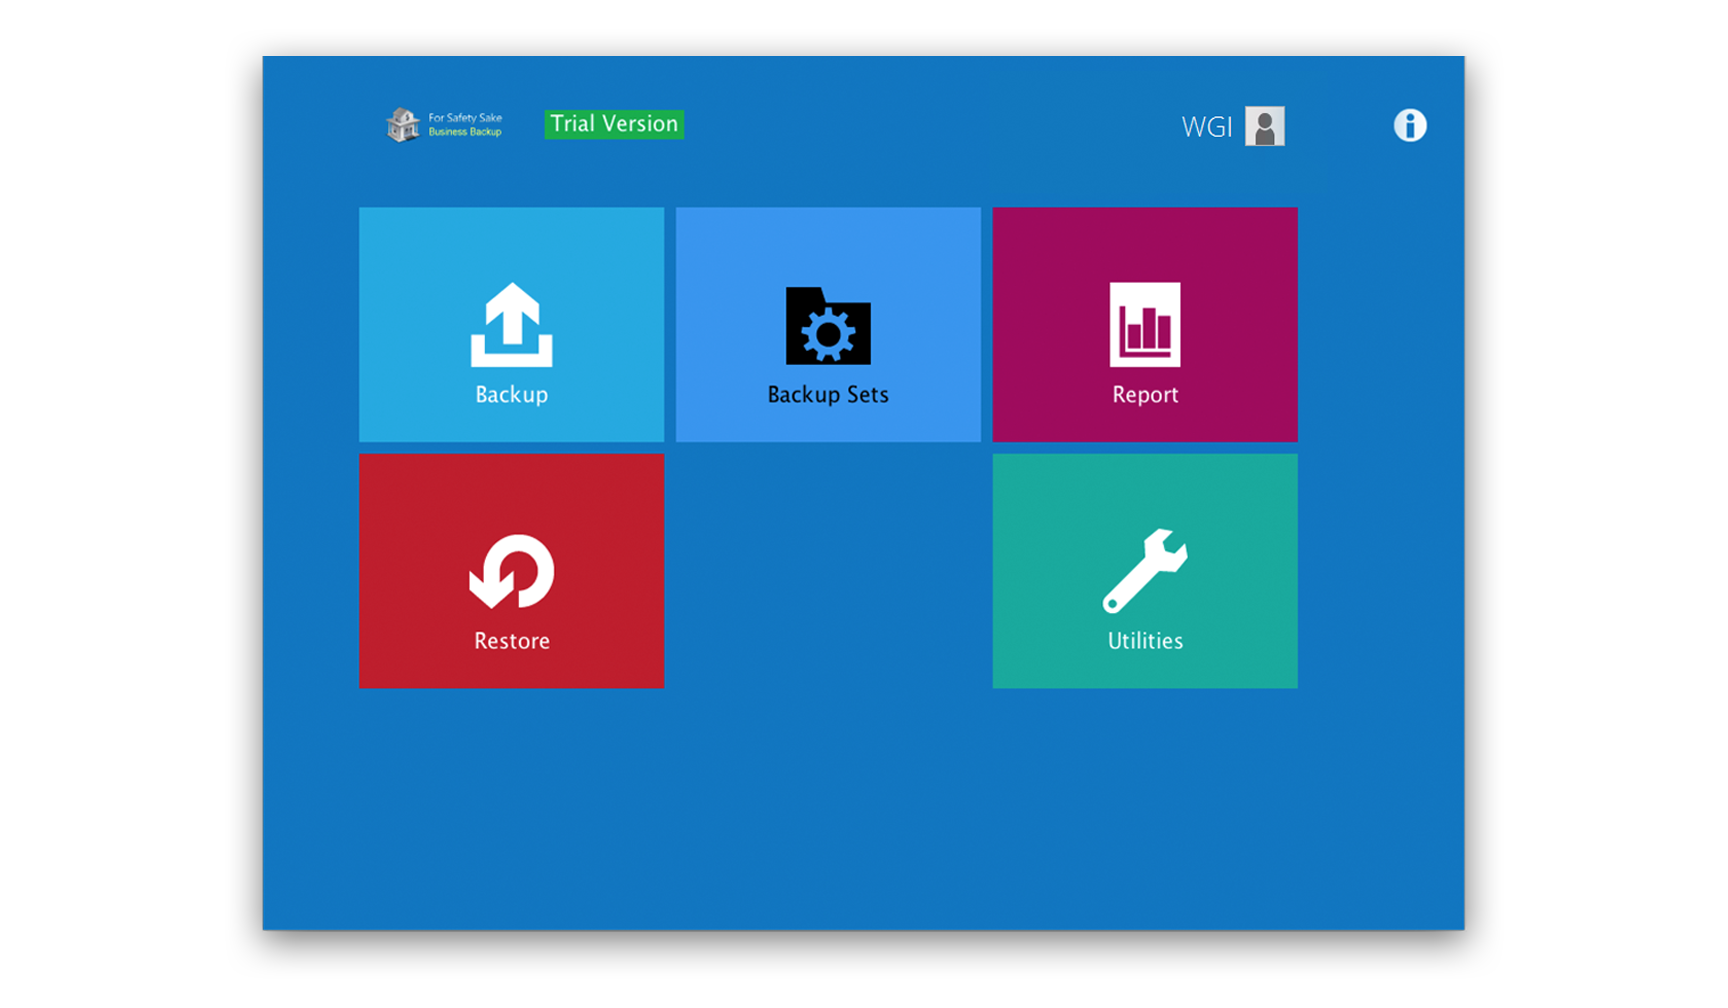
8. Click on 'Backup Sets' to create your first backup
-
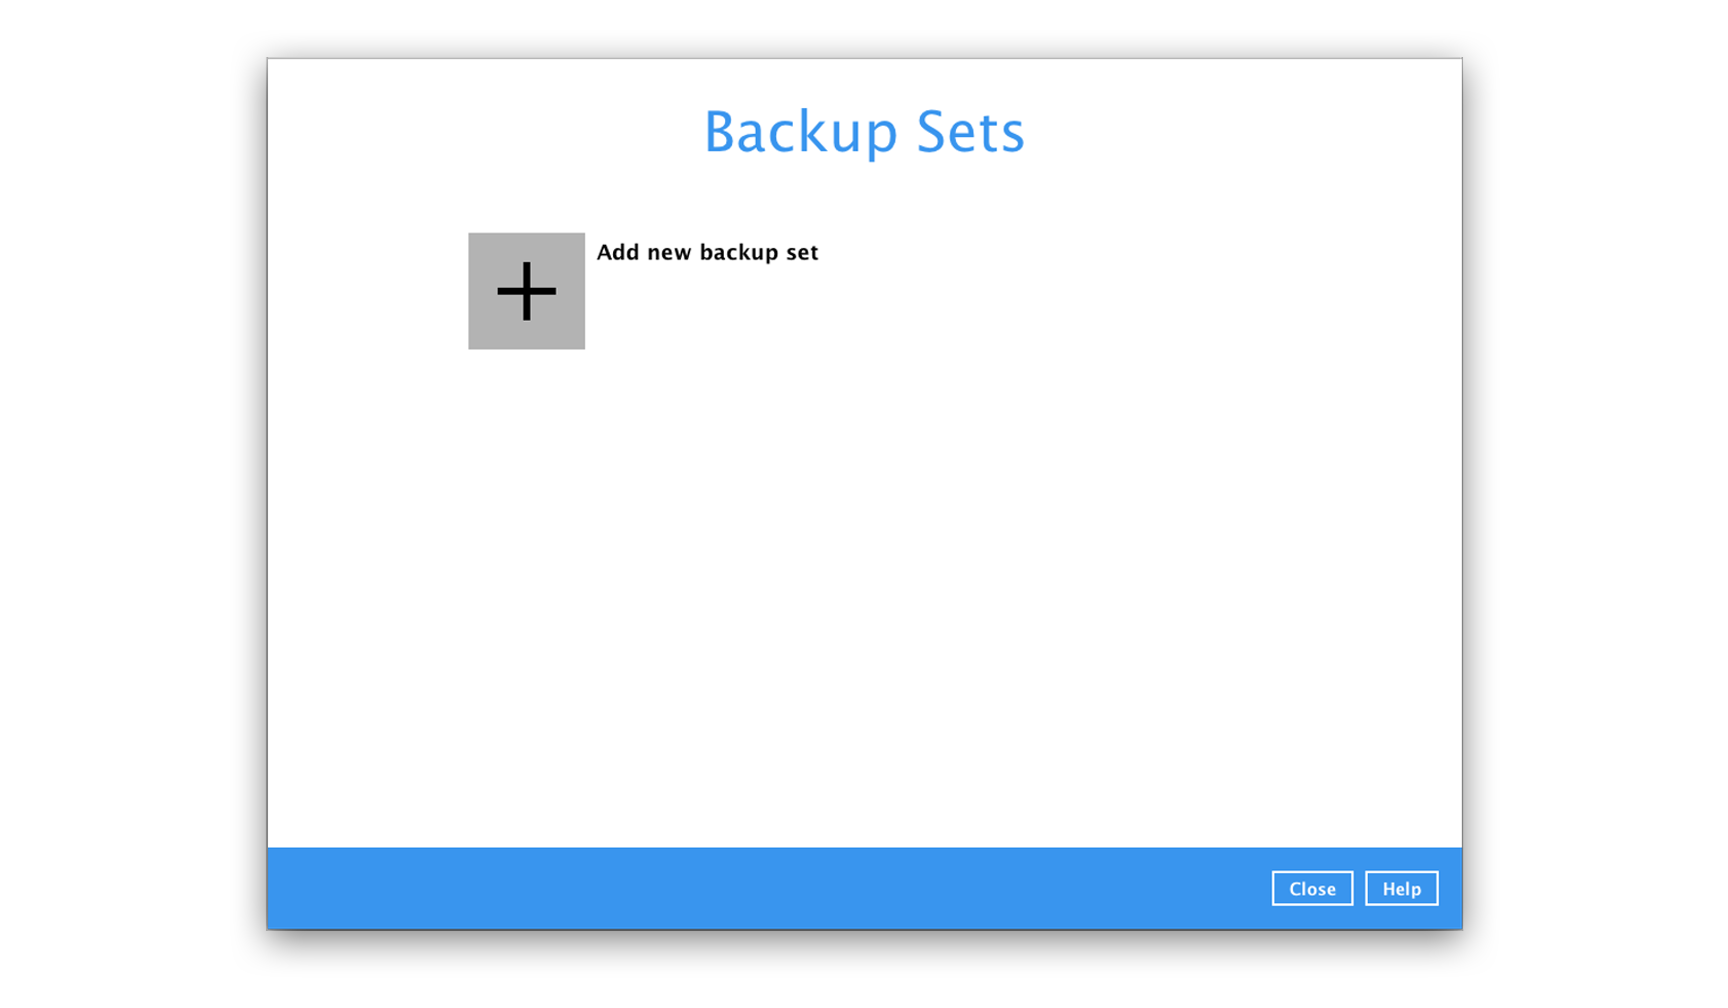
9. Click 'Add new backup set'
-
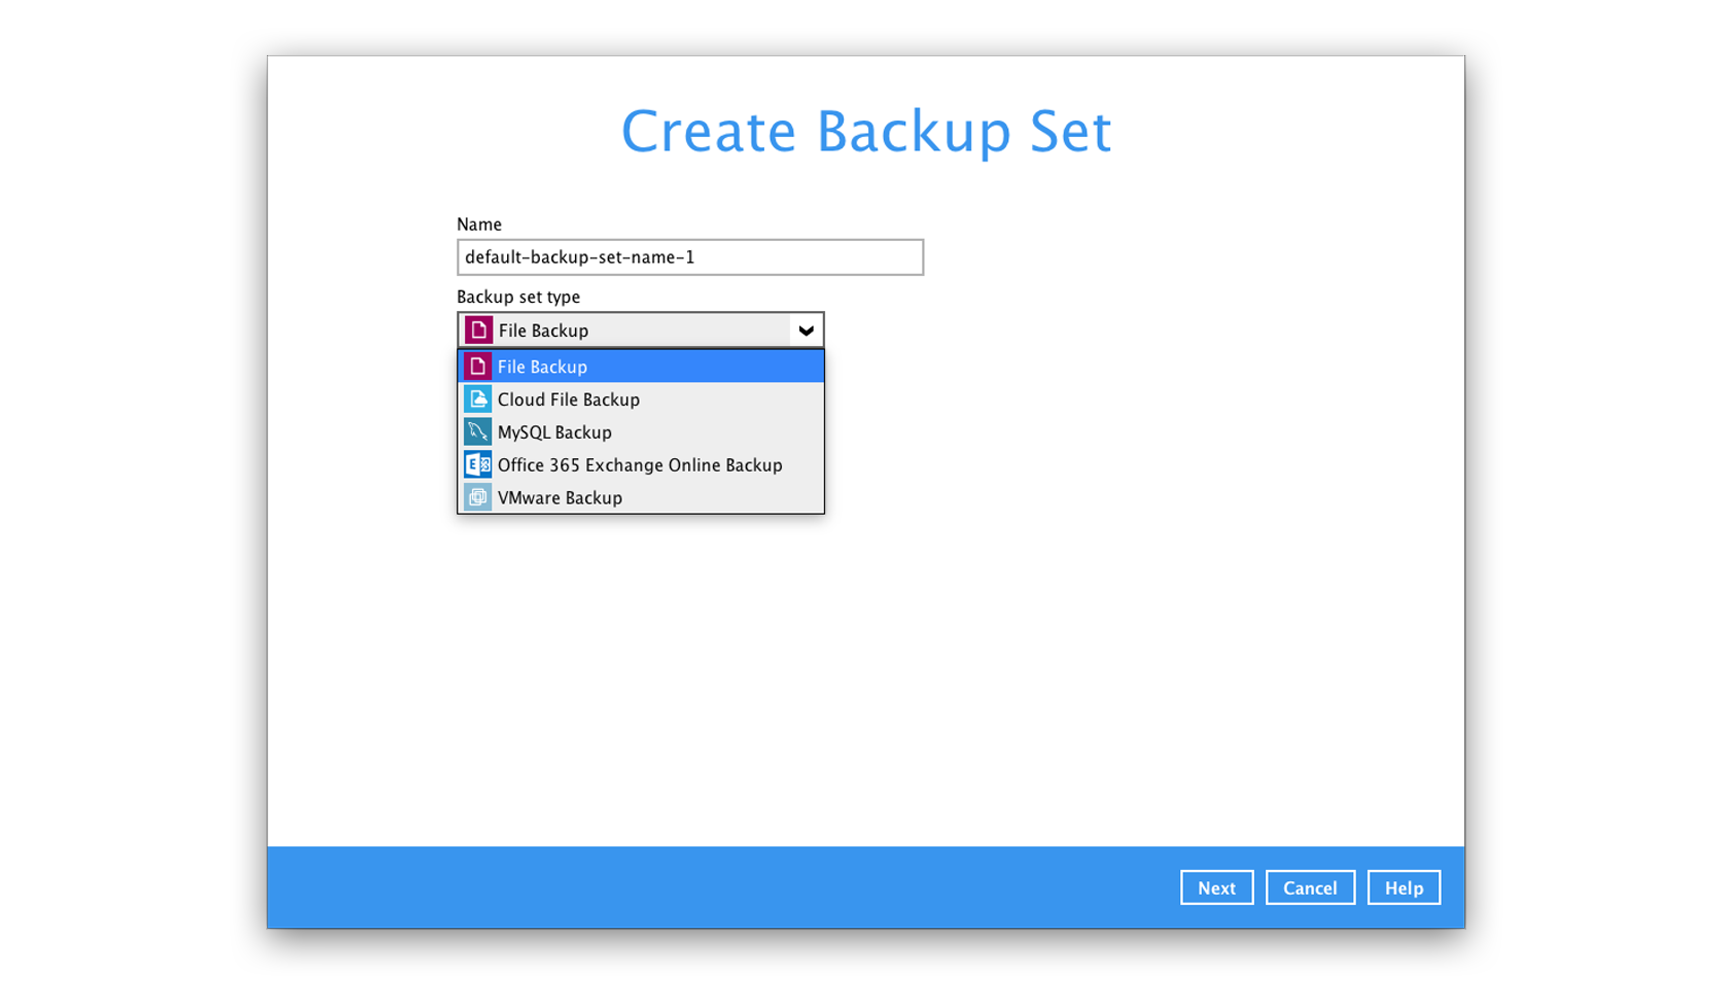
10. Select the backup set type that you'd like to create
-
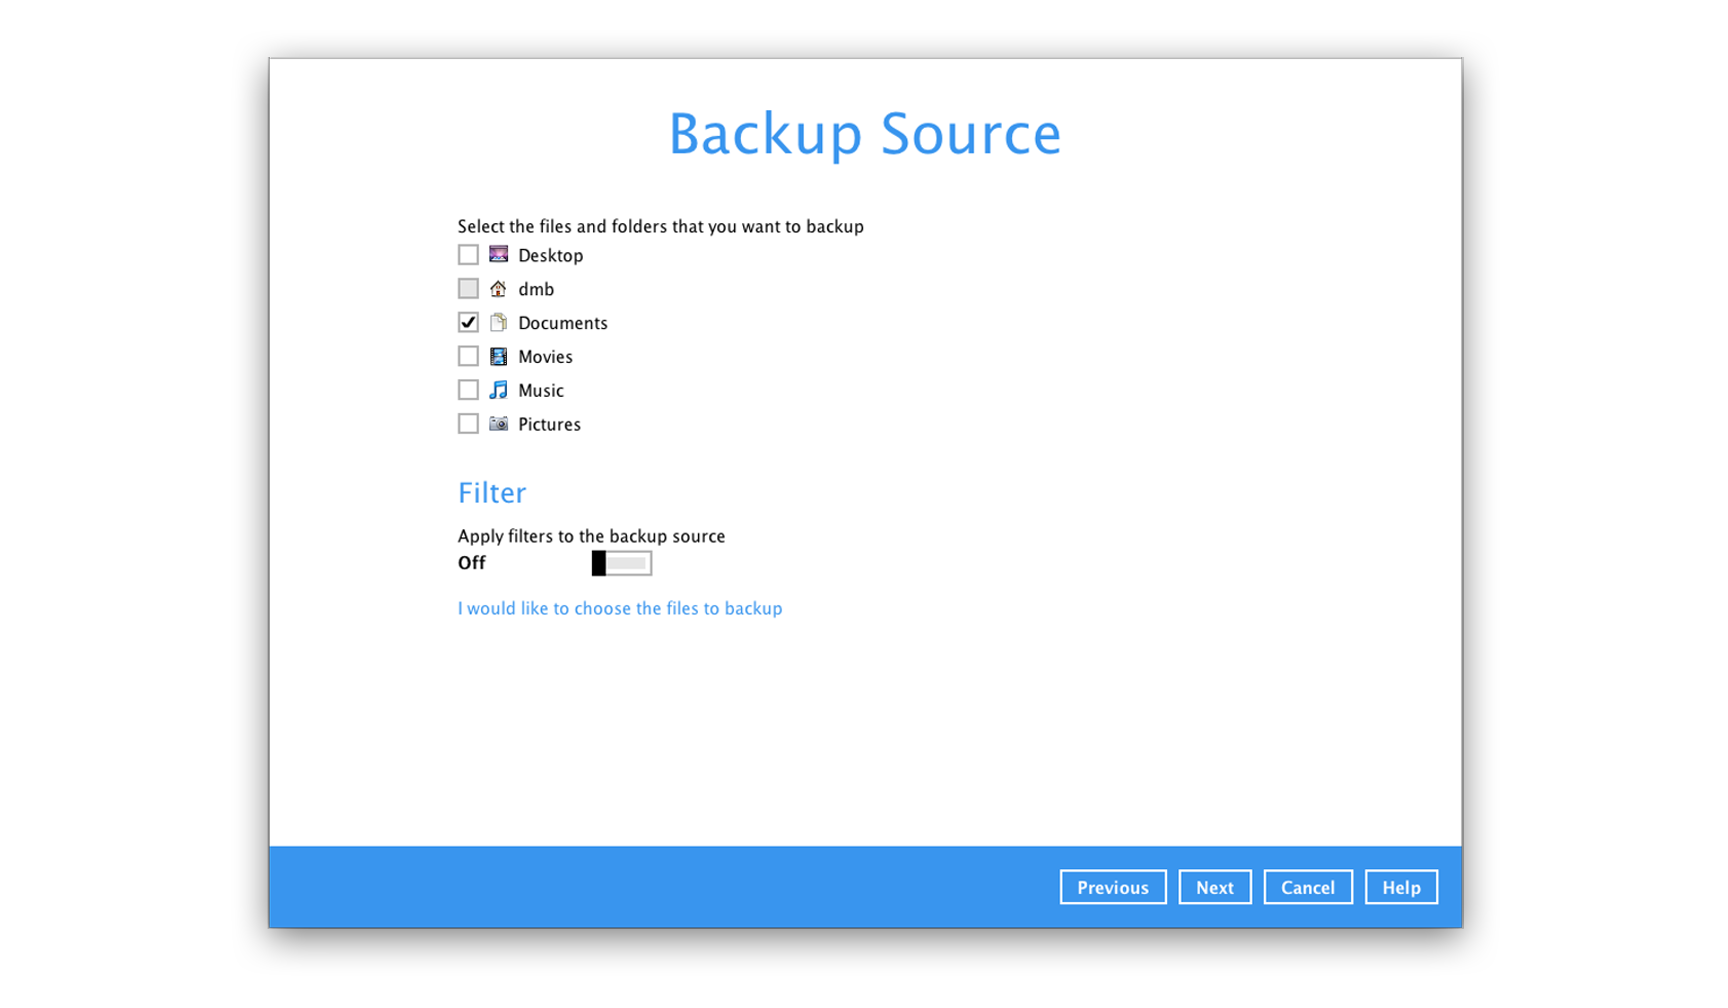
11. Select the folders that you'd like to backup, as well as additional options.
-
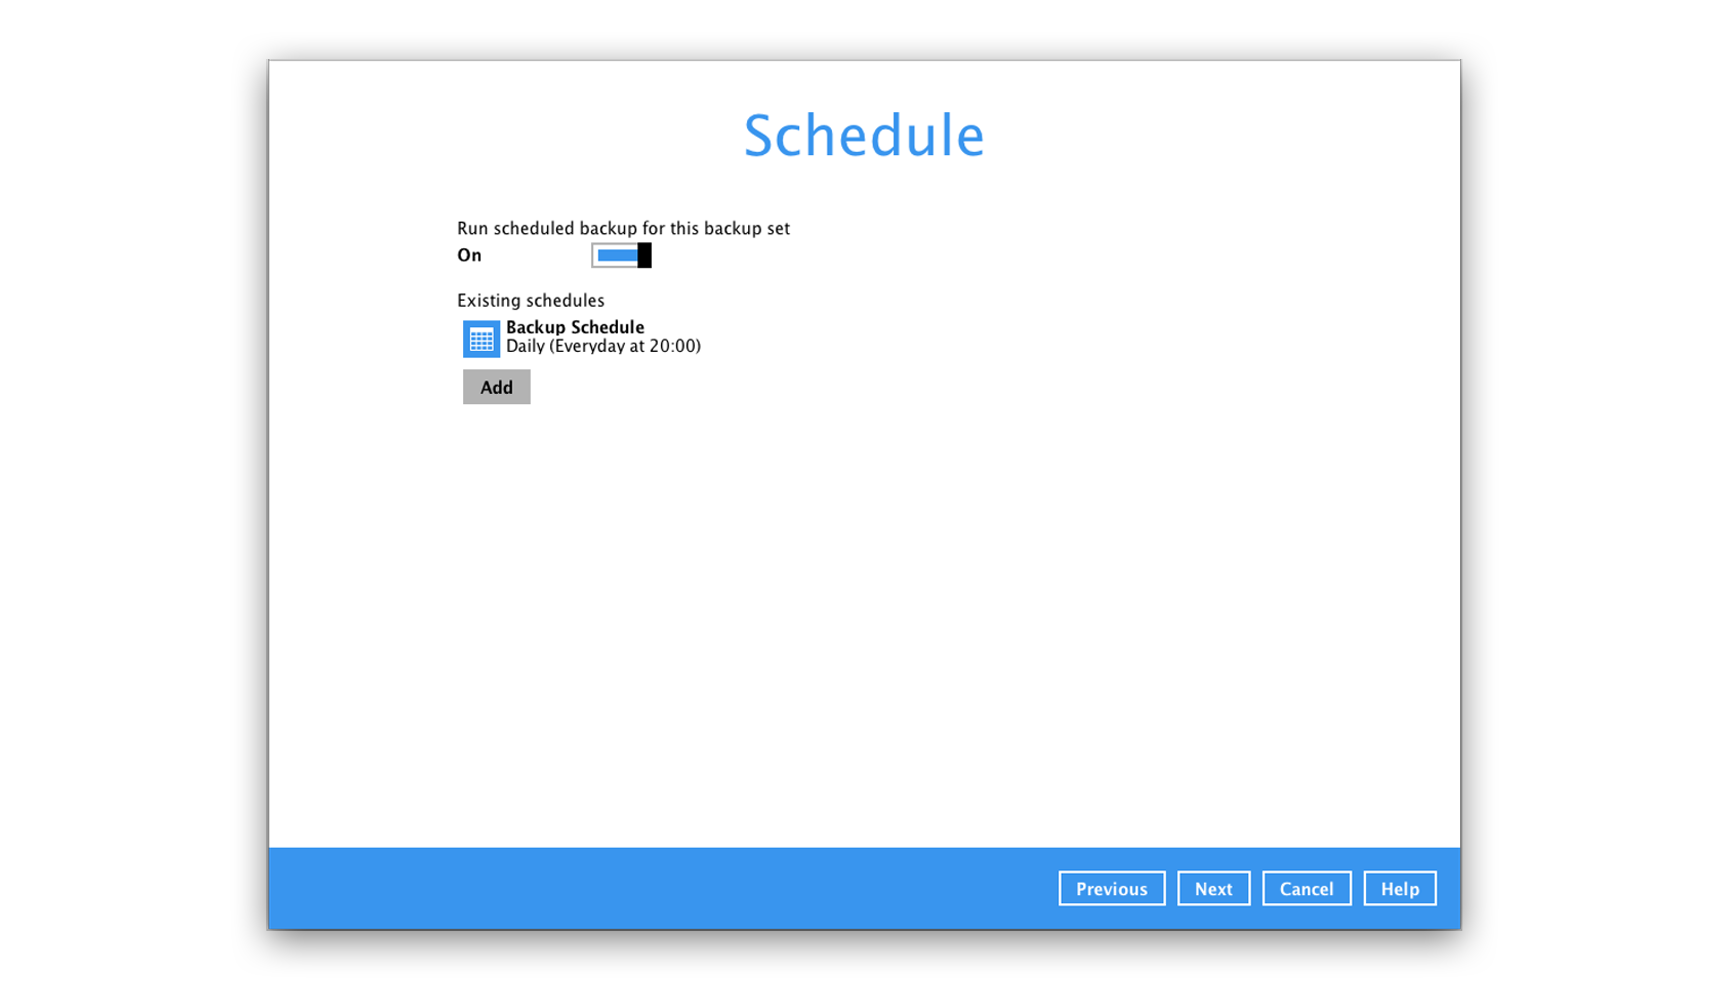
12. Setup one or more schedules for your backup set to automatically run
-
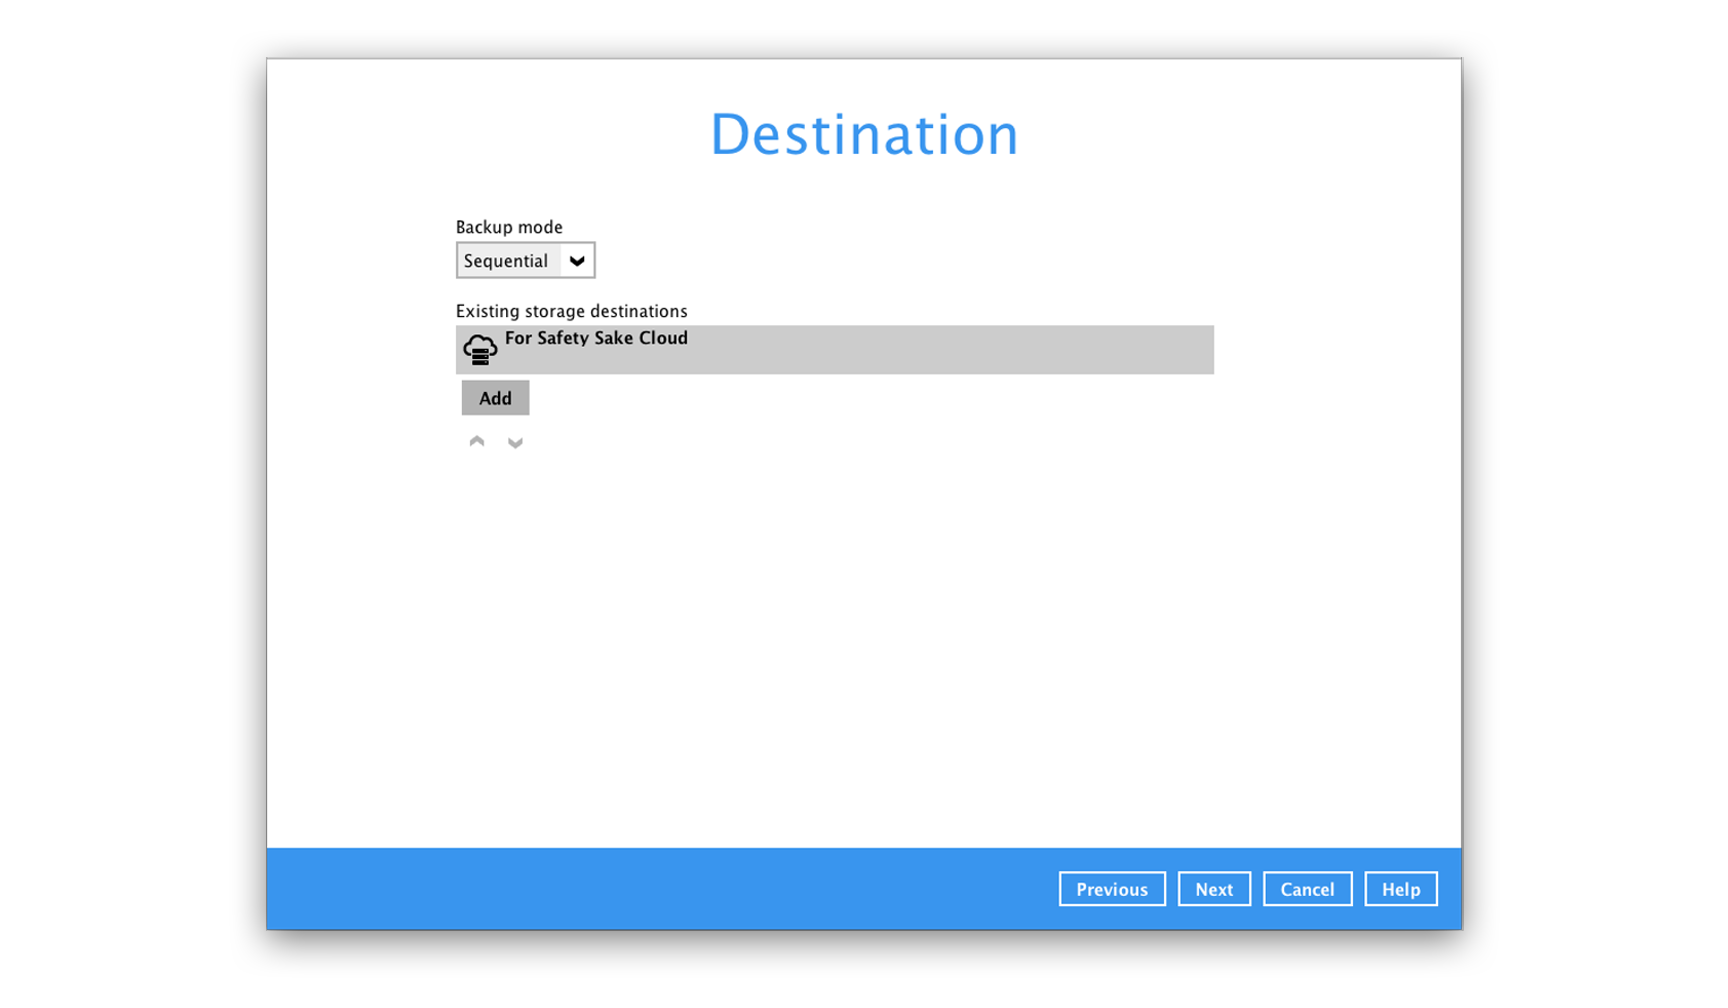
13. Add multiple backup destinations if desired.
-
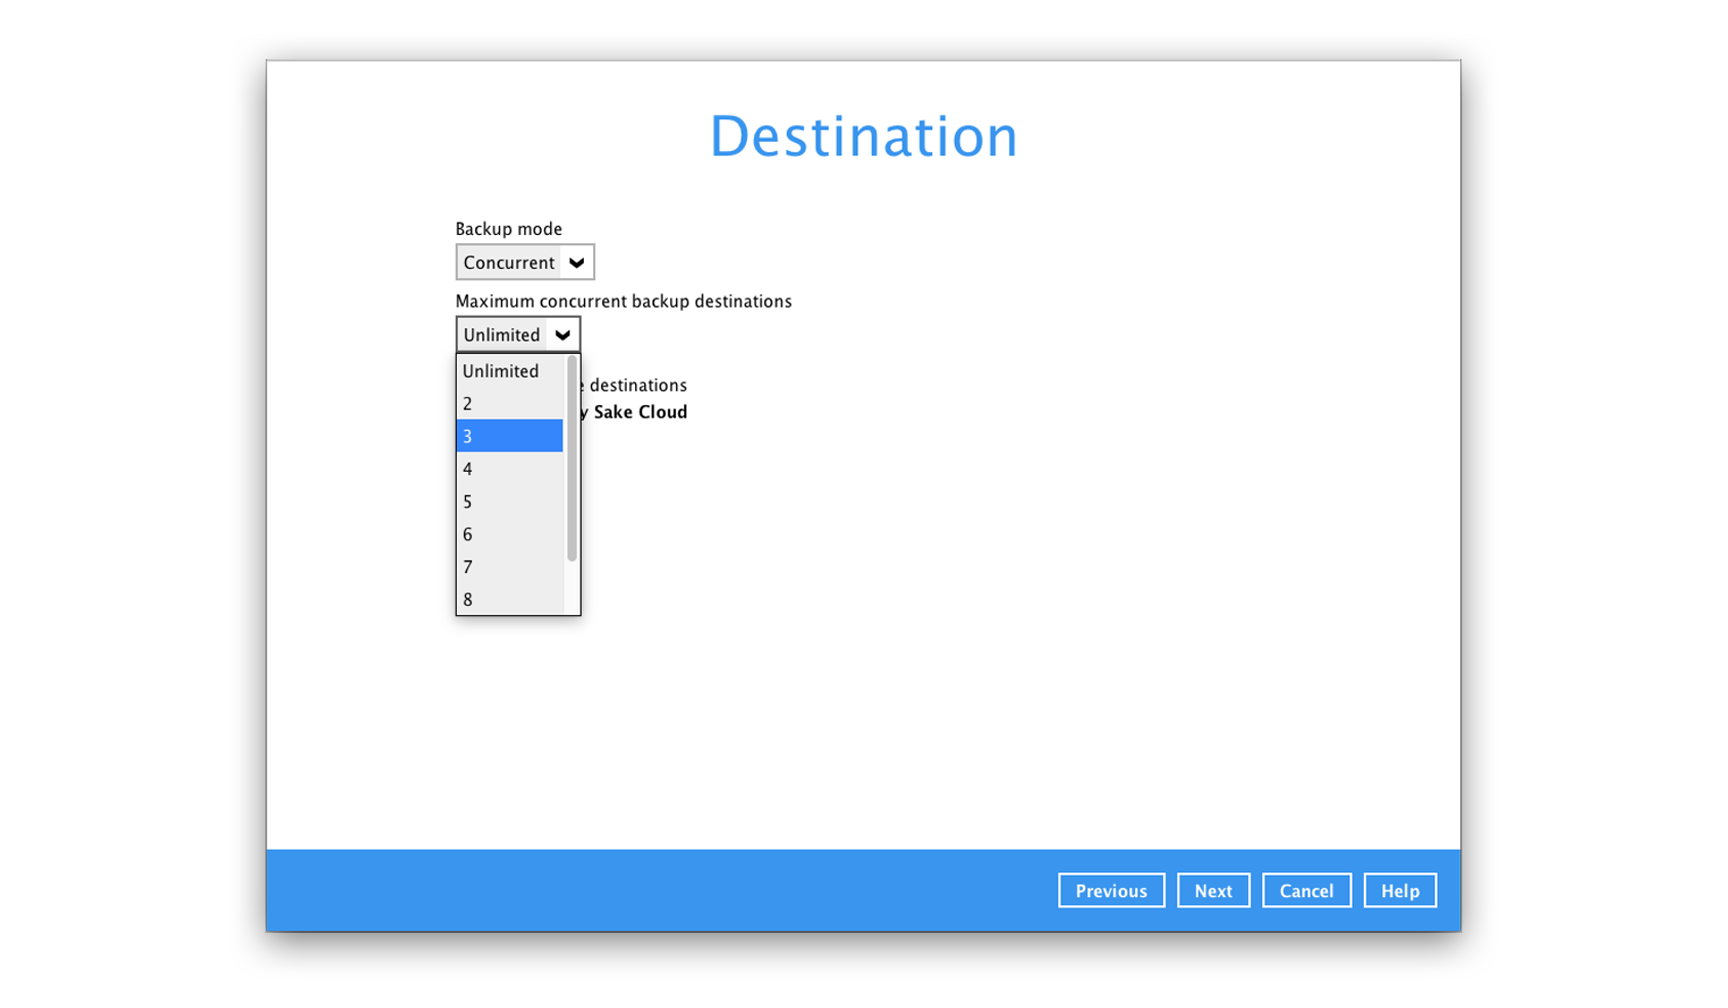
14. Select 'Sequential' or 'Concurrent' for your backup mode. Sequential will backup to each destination, one at a time. Concurrent will backup to multiple destinations at once.
-
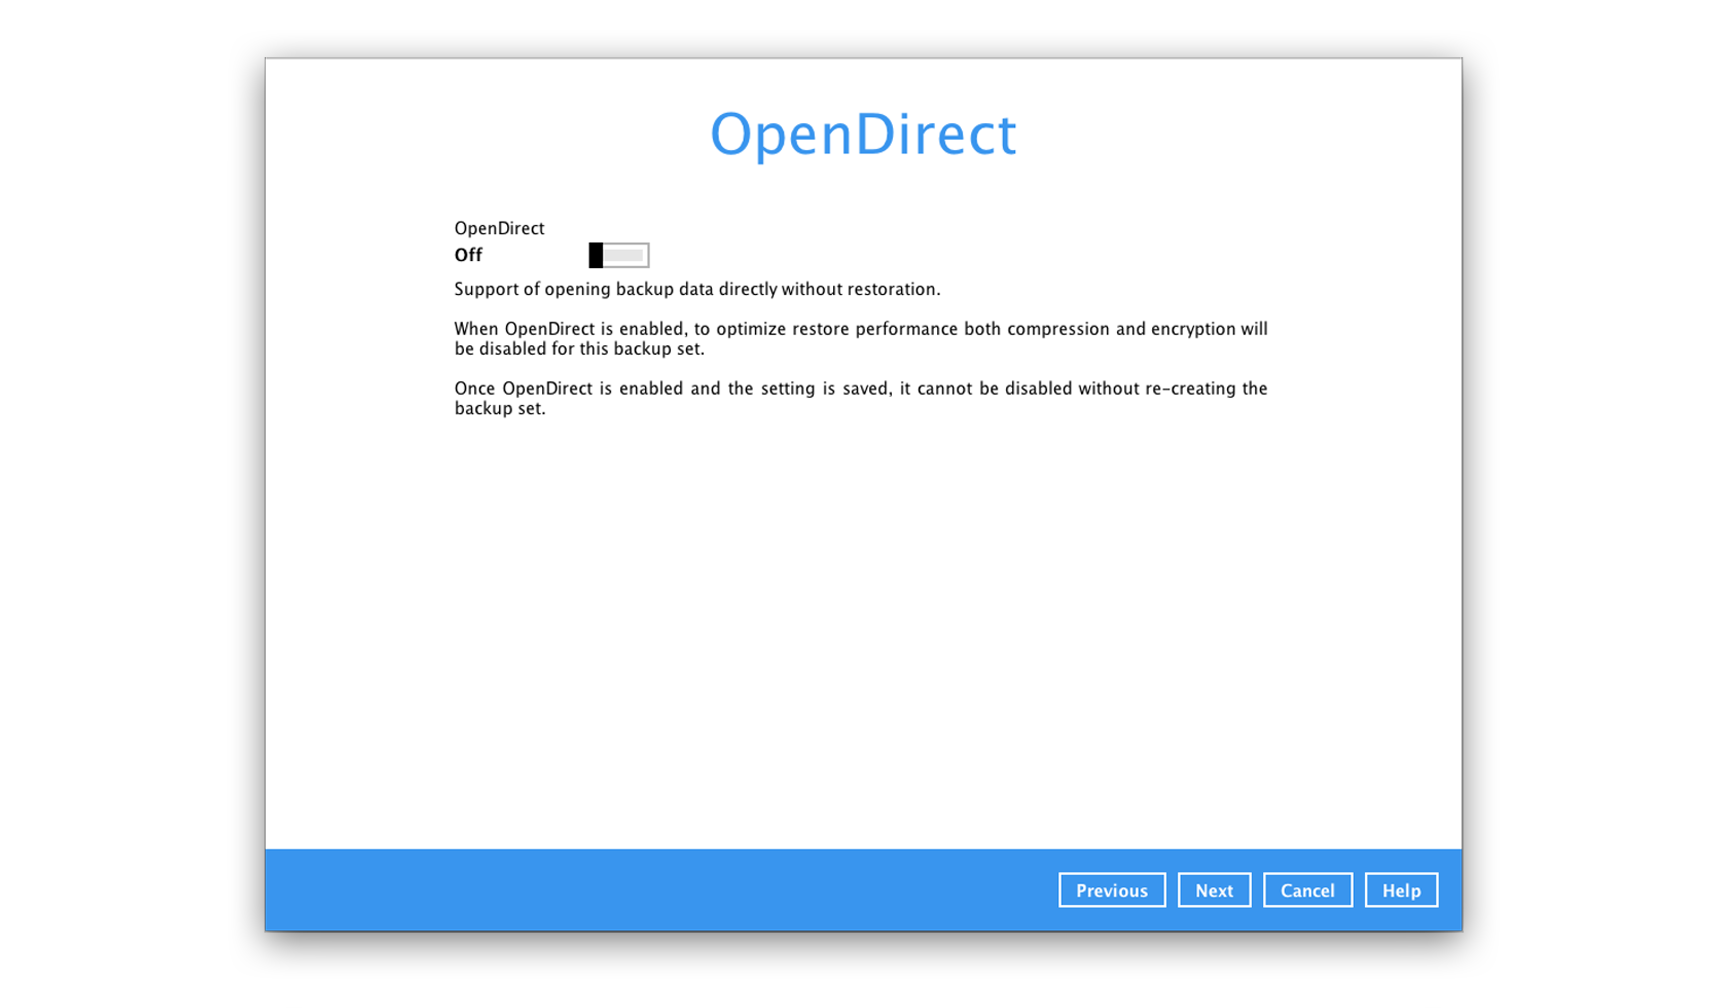
15. OpenDirect is typically used for backing up Virtualized systems and is usually disabled otherwise.
-
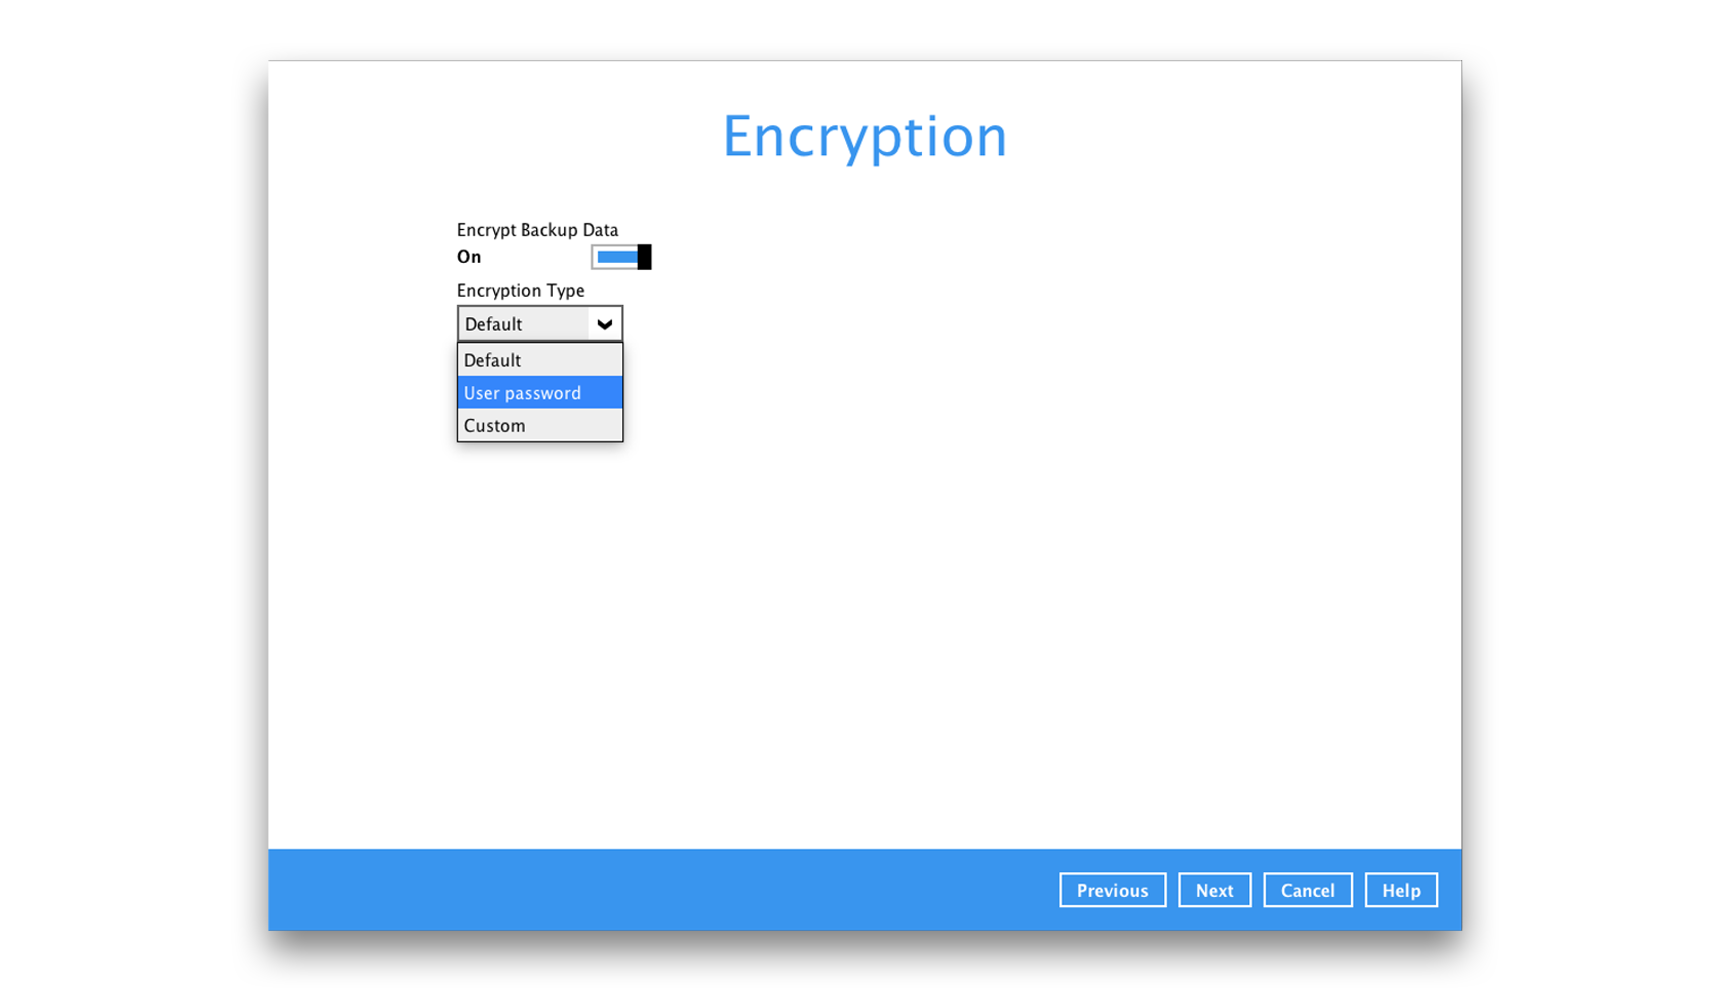
16. Select your Encryption settings. We recommend leaving encryption disabled unless there is a specific reason that it needs to be enabled. The connection between your computer and the server is already encrypted via SSL.
-
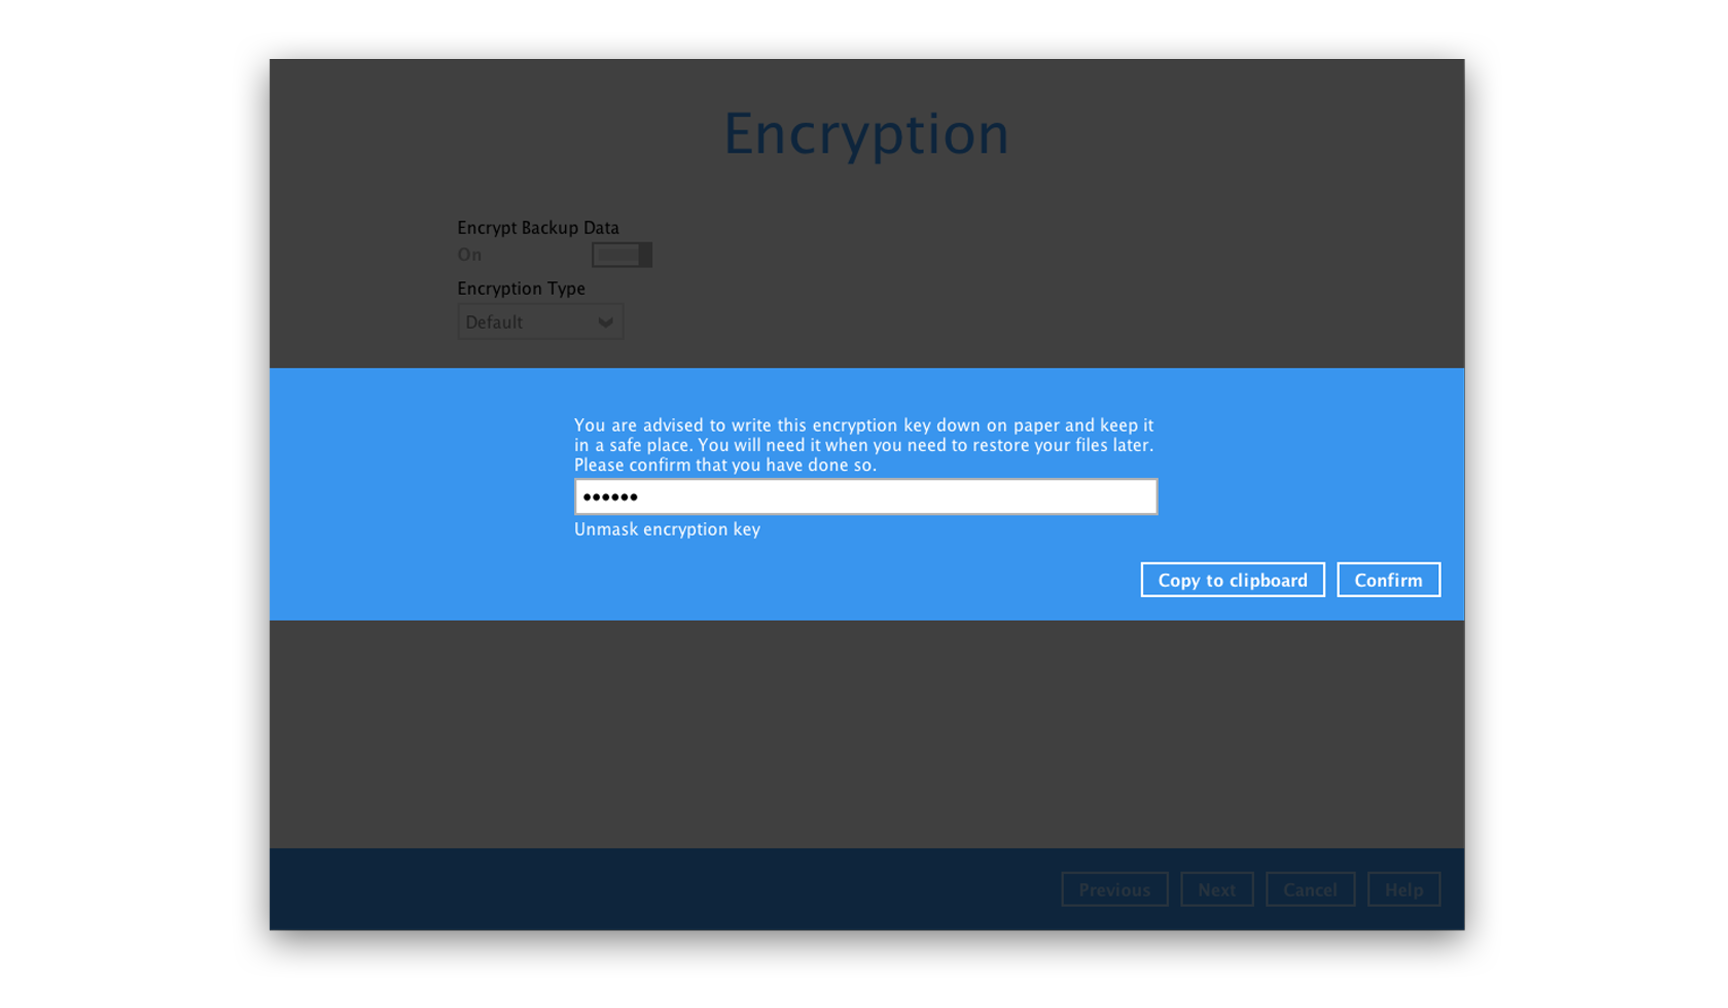
17. If encryption is enabled, make sure to note down & save the encryption key provided. THIS KEY IS REQUIRED TO RESTORE YOUR BACKUP. IF THE ENCRYPTION KEY IS LOST, YOUR BACKUP CAN NOT BE RESTORED.
-
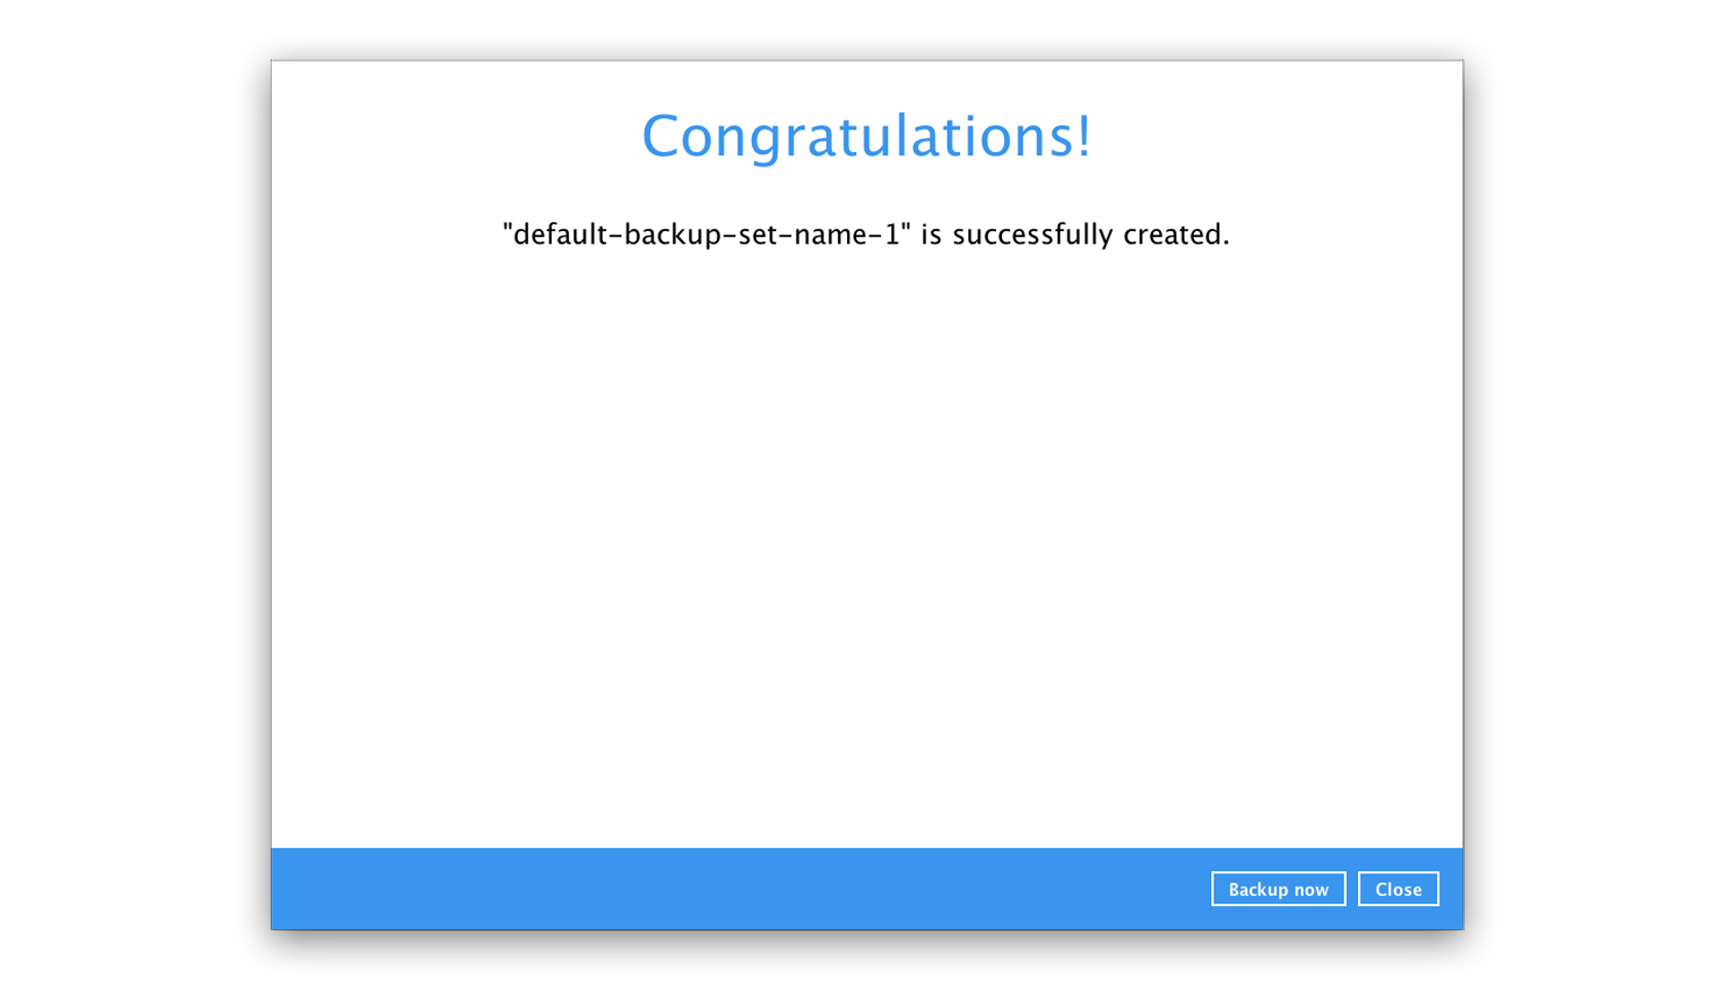
18. Once your backup set has been created, you can create your first backup by clicking 'Backup Now'
-
19. Select the backup set that you have just created.
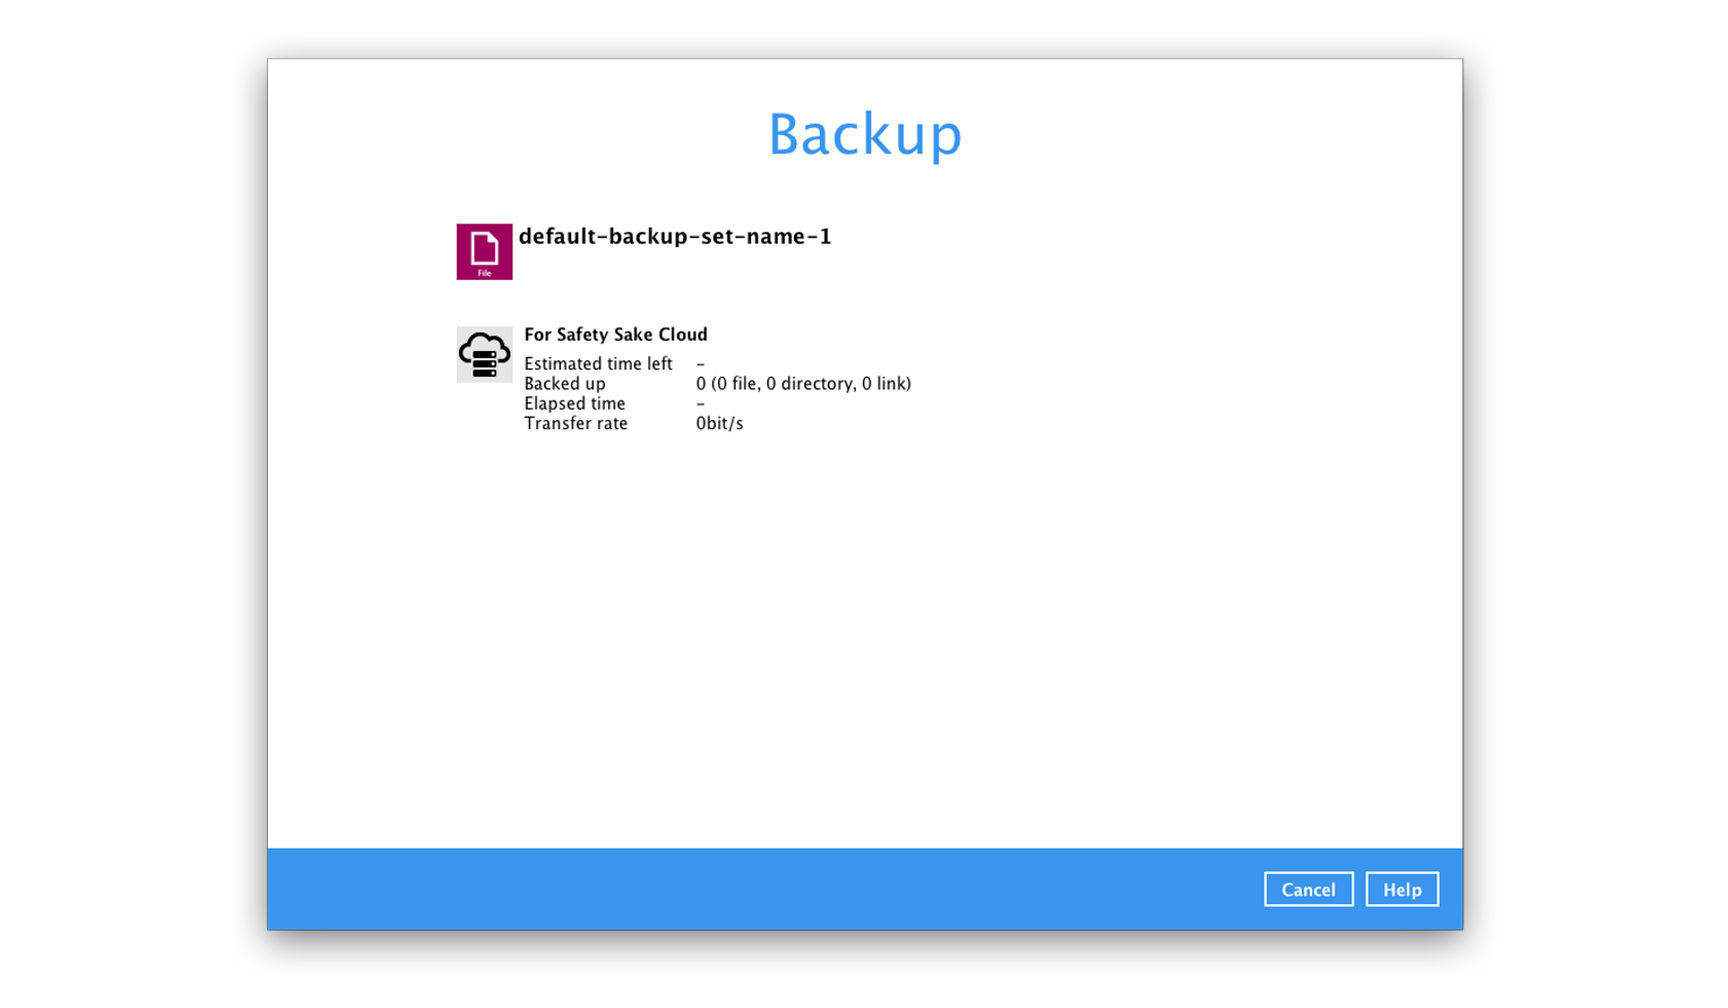
-
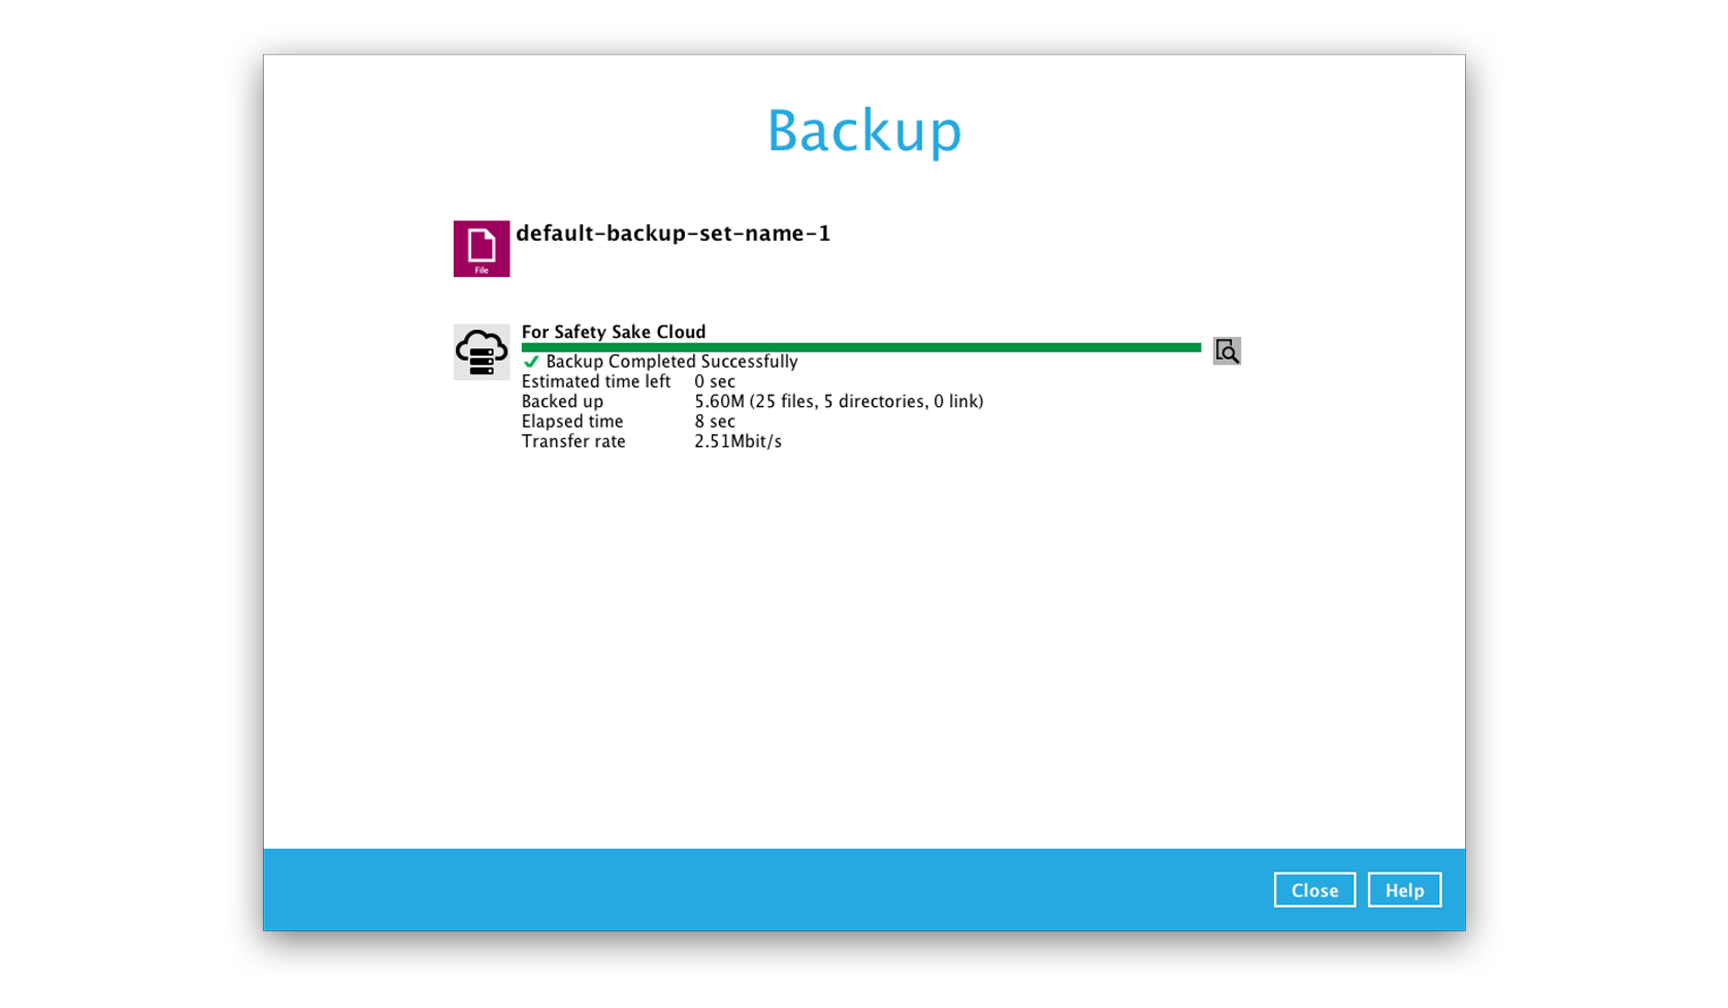
20. Your backup will begin to transfer. You can view the estimated time left until backup completion, what has been backed up, how long the backup has been running, and how fast it is transferring.
-
21. Once the backup has completed, you can click the 'Close' button to return to the main menu.
-
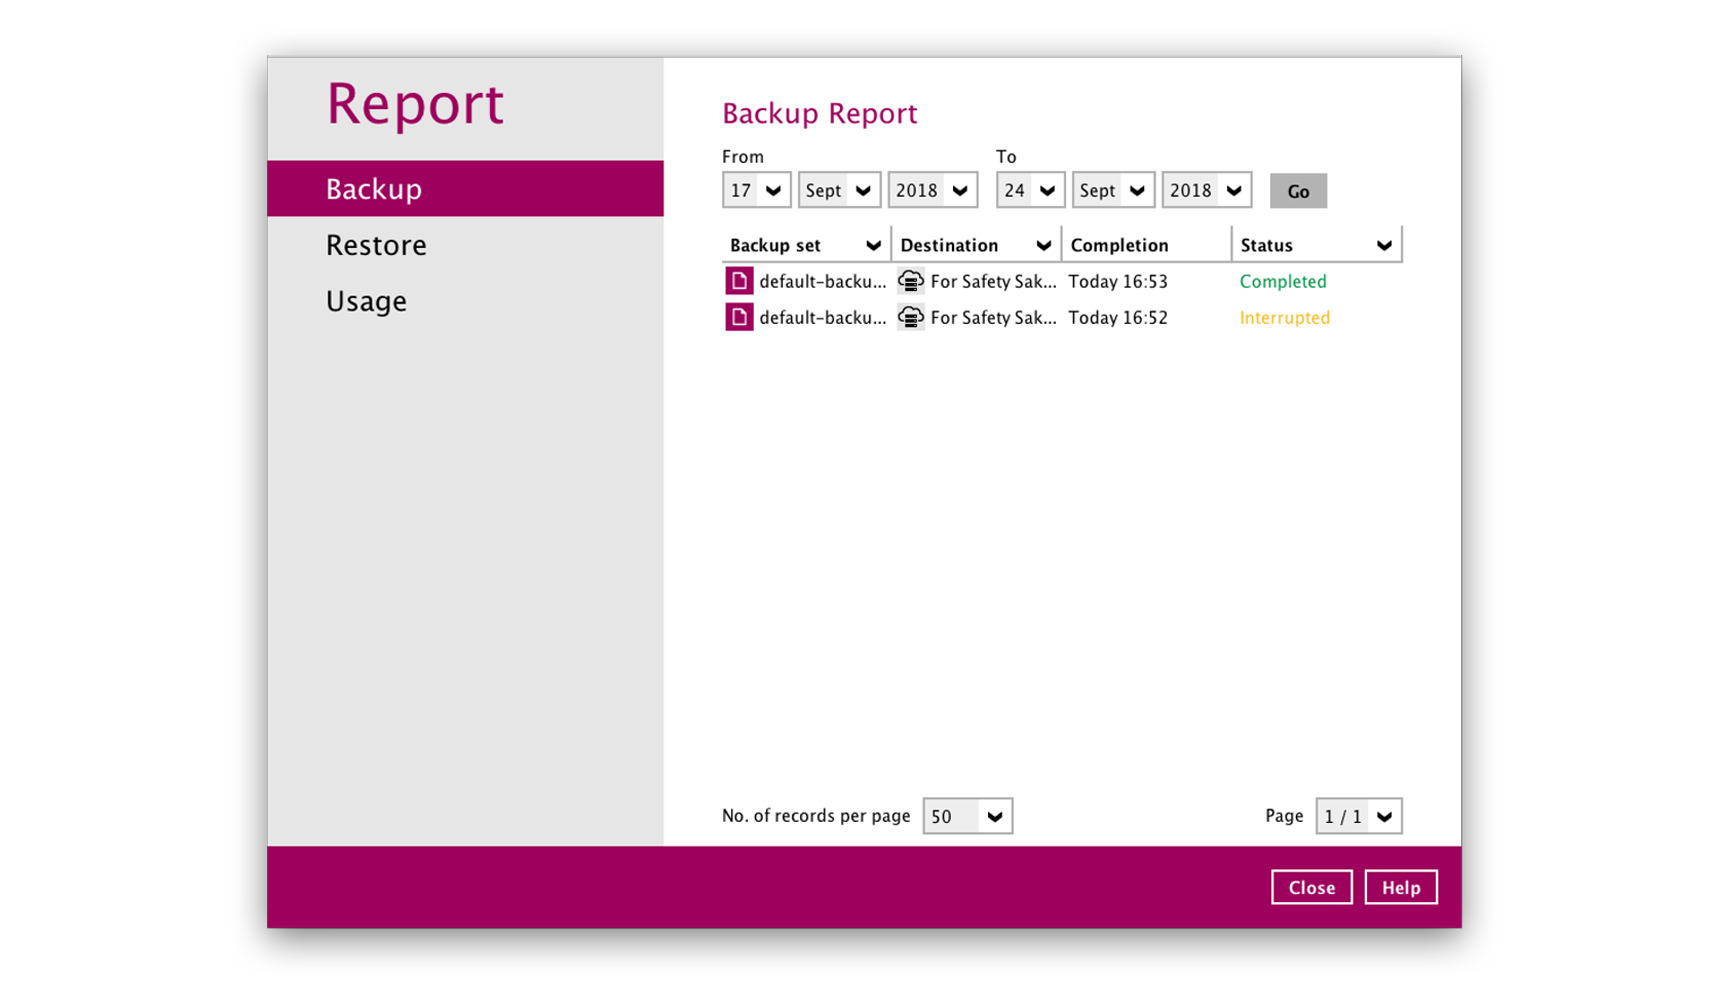
22. You can go to the 'Review' section to view specific details about your backups, restorations, and usage.